How to Shoot and Stitch Drone Panoramas (360° Spheres, HDR and RAW)
By Alex Wides, landscape and panoramic photographer · Updated · 9 min read
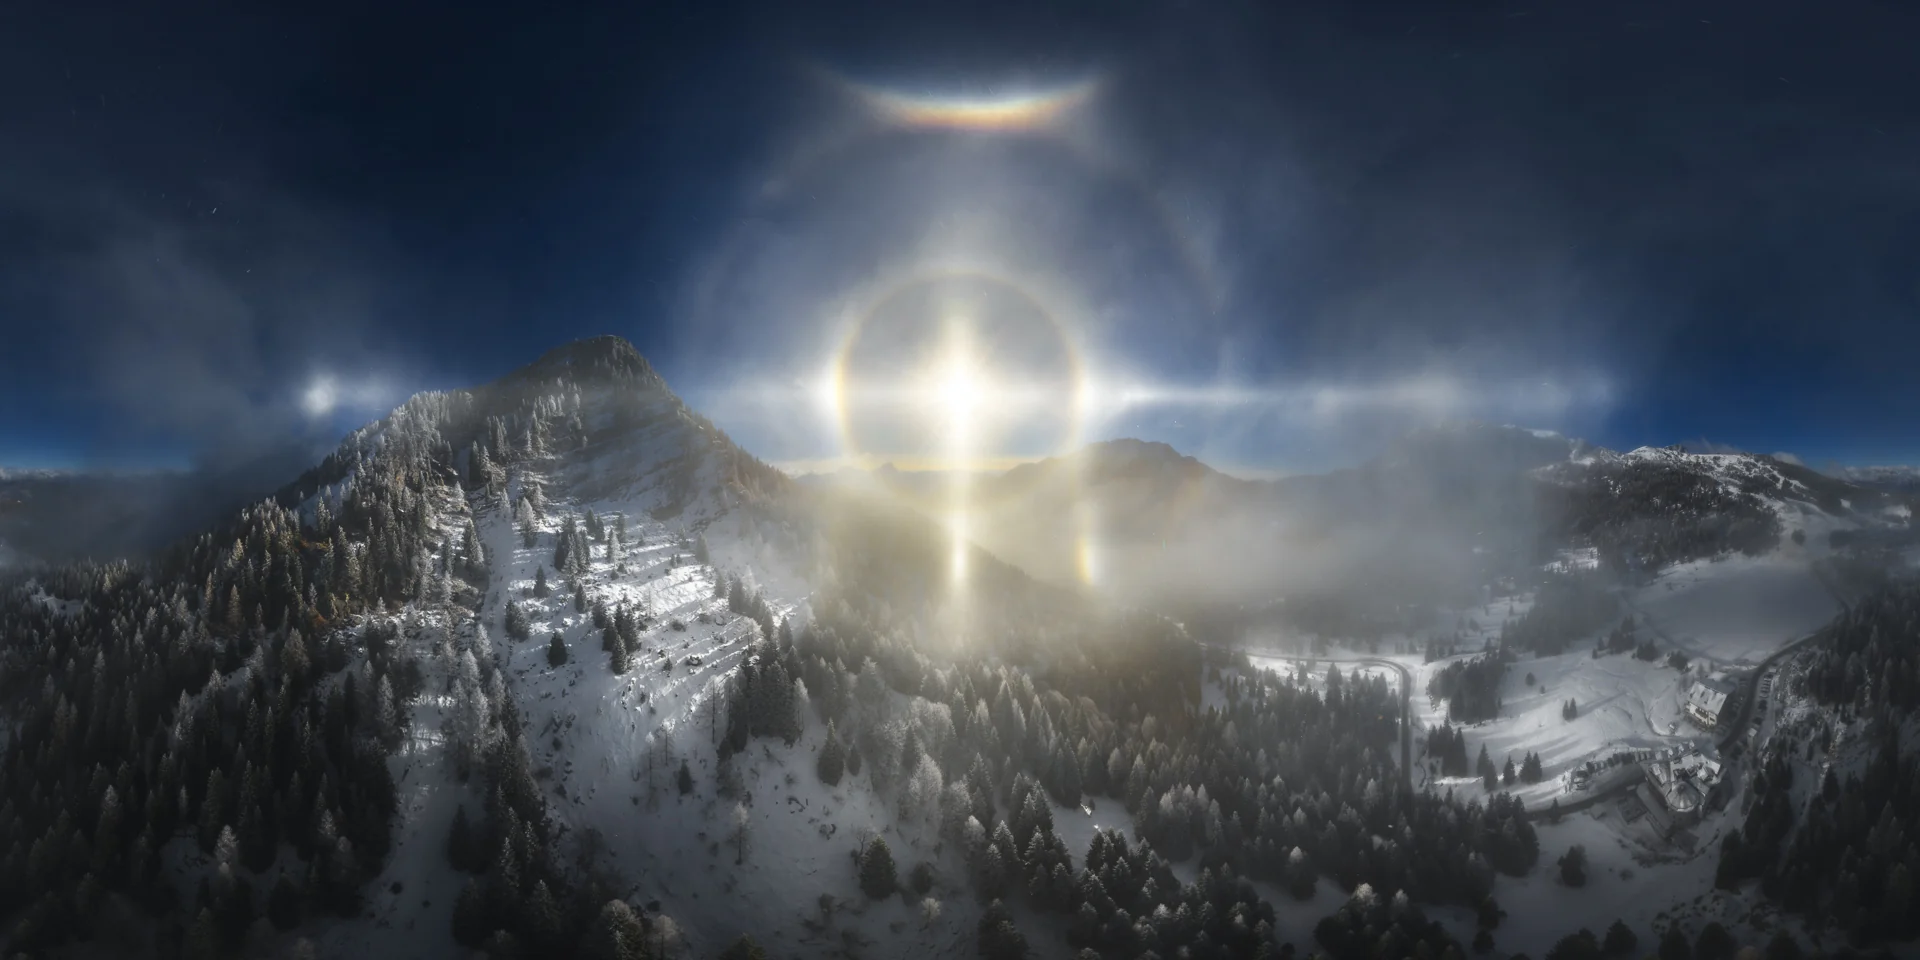
To make a drone panorama that holds up as a print, shoot in RAW with the 360° sphere mode of a recent DJI drone such as the Mavic 4 Pro (43 frames, zenith included), underexpose by −1 to −1.7 EV with the shutter no slower than 1/100 s, and stitch the DNG files from the PANO folder with software that reads the gimbal data. For HDR, switch to free panorama mode and bracket 5 frames: sphere mode does not bracket.
Key takeaways
- The Mavic 4 Pro sphere mode shoots 43 frames and closes the zenith; the Mavic 3 shoots 34 and leaves a hole at the top.
- Sphere mode has no automatic HDR. For bracketing, set the panorama to Free mode first, then turn on HDR in the camera settings and use 5 frames.
- Shoot RAW in auto exposure at −1 to −1.7 EV, ISO allowed higher than usual, shutter no slower than 1/100 s, f/8 (f/2.8 if nothing is close).
- Highlights are the real risk, not shadows. Underexposure keeps the sun and bright clouds recoverable.
- Stitch the DNGs in the PANO folder, not the JPEG the drone assembles for you, with software that reads the gimbal data.
- Mercator and stereographic are my default projections; fisheye pointed down gives the little planet, and Pannini is worth trying for wide, natural-looking views.
Which drone to use
I shoot my drone panoramas, both full spheres and free-composition panoramas, with the DJI Mavic 4 Pro. The latest models changed the game. With the Mavic 3 the sphere left a hole at the zenith and never closed properly. With the Mavic 4 Pro the 360° panorama is a real sphere that joins every point, and the dynamic range is much better.
If you are starting out, I recommend a DJI Mini or the Mavic 4 Pro. Both handle the automatic panorama modes well, and you will not have to fight the drone to get a clean set of frames.
Sphere mode or free mode
DJI drones offer an automatic 360° sphere and a free panorama mode. The drone chooses the number of frames and the overlap: in sphere mode the Mavic 4 Pro takes 43 frames, the Mavic 3 took 34 because it skipped the zenith.
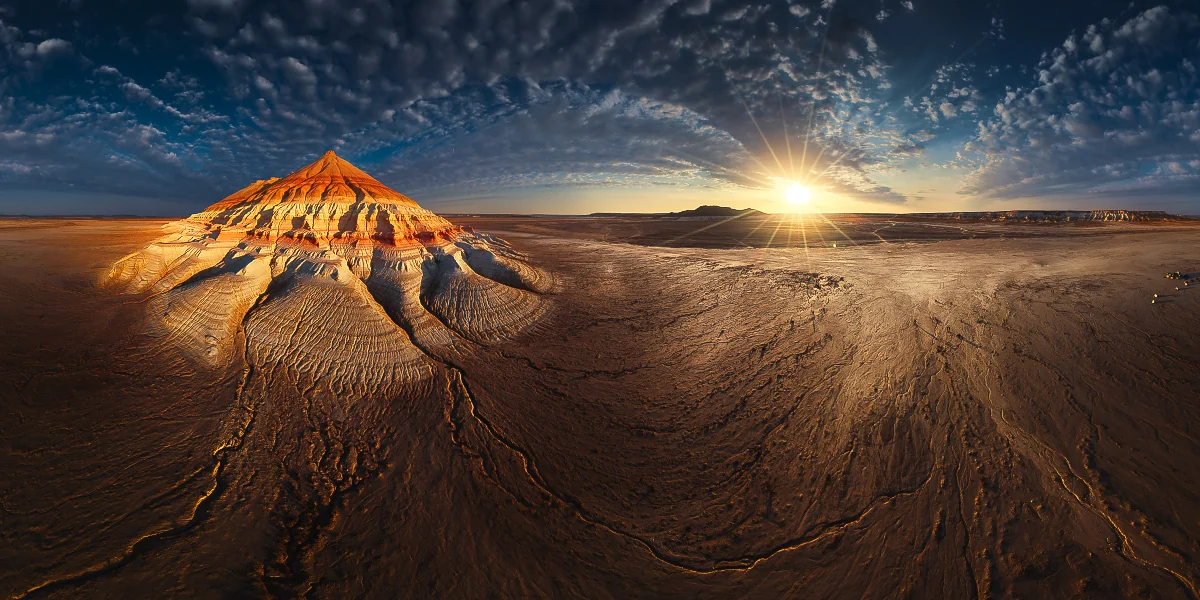
My rule: when the light is soft and the sun is behind clouds, the sphere in a single exposure is enough thanks to the Mavic 4 Pro dynamic range. When the sun is in the frame and hard, I use free mode with HDR.
Exposure settings that protect the highlights
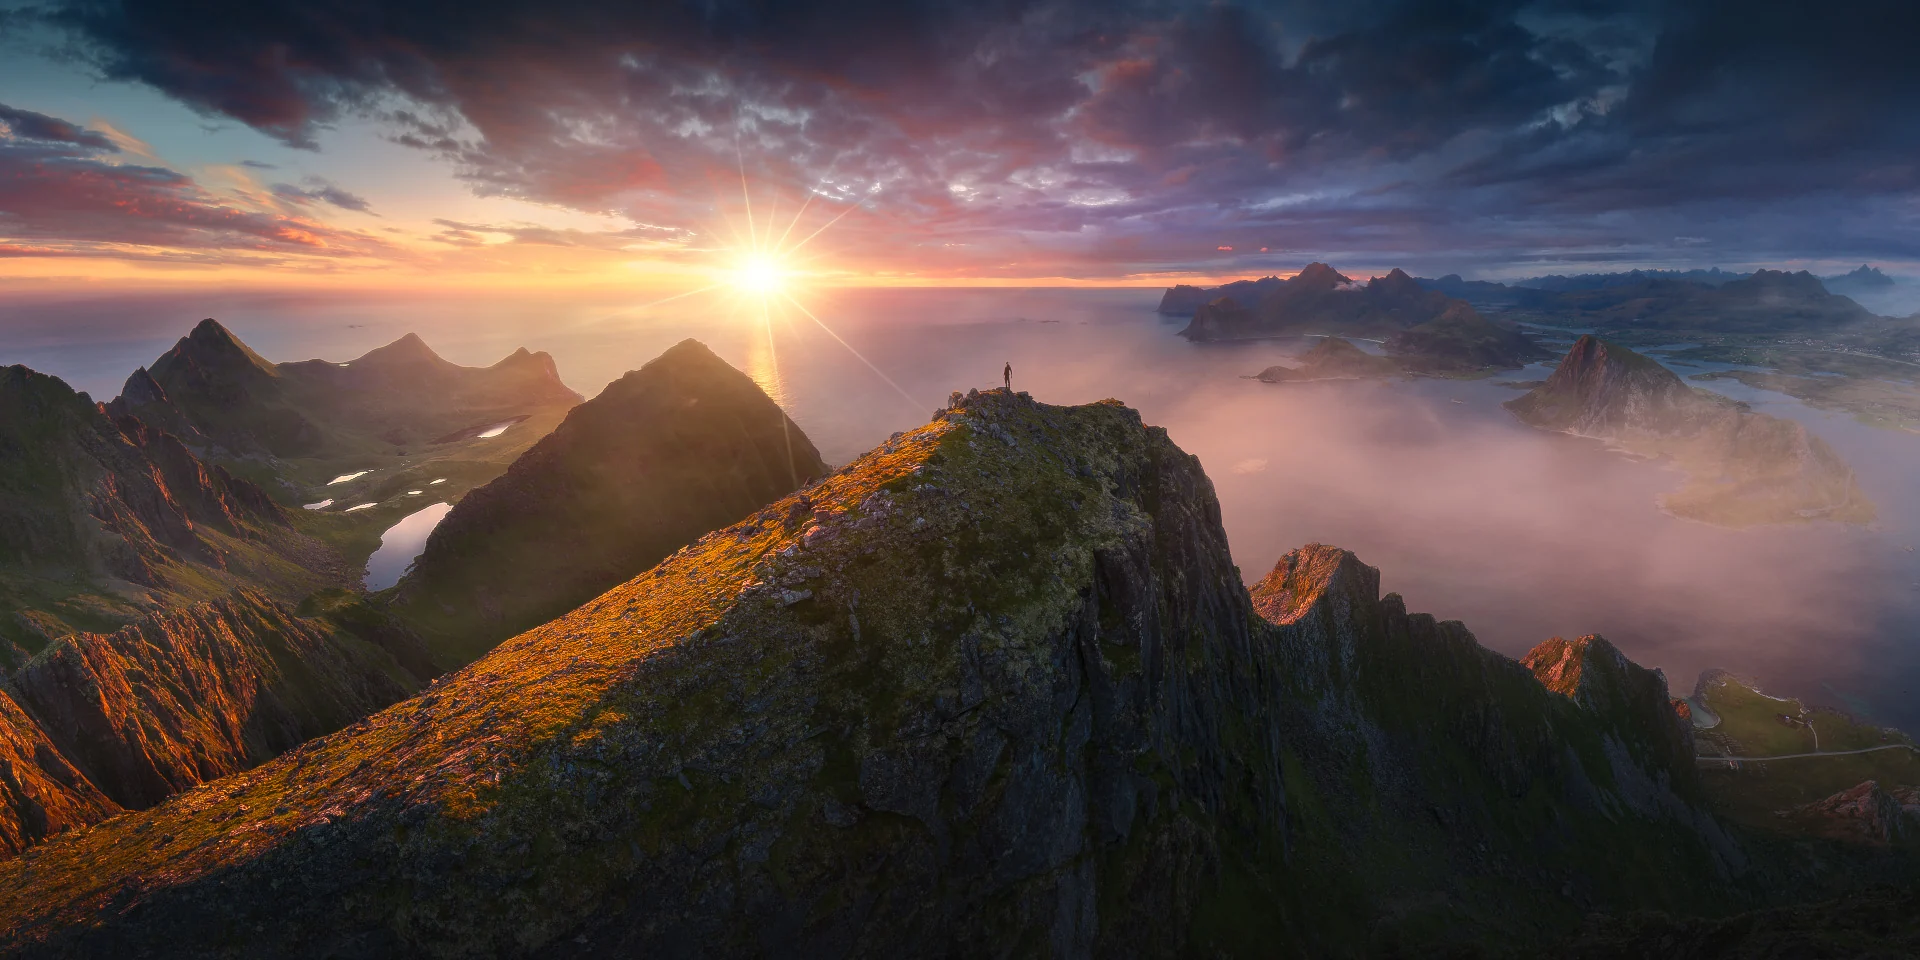
In a drone panorama the problem is almost never the shadows. It is the highlights: the sun, the bright edge of the clouds, snow. This is my standard setup:
- RAW, always. JPEG throws away exactly the highlight detail you will need later.
- Auto exposure with −1 to −1.7 EV of compensation.
- Shutter no slower than 1/100 s, so the frames stay sharp even with some wind.
- ISO allowed higher than you would normally choose, to keep that shutter speed.
- Aperture f/8 as a default. If the closest subject is far from the drone, f/2.8 is fine.
With the Mavic 4 Pro, at −1 to −1.7 EV and the sun partly behind clouds, I am almost certain to recover the highlights in post-production. The real work starts in the edit, but it starts from files that still hold the information.
Where the drone puts your files
After a panorama the drone creates a folder, for example PANO001, with all the RAW frames as DNG files. In the main DJI folder of the card it also saves an image with the same name: the panorama the drone has already stitched.
That ready-made image is useful as a preview on the spot, nothing more. What you need is the folder with all the DNG files: that is where the resolution and the editing latitude are.
Stitching: why gimbal data matters
To stitch a drone panorama correctly the software has to read the gimbal data written inside every file: the orientation of the camera for each frame. With those data the frames fall into place even over a featureless sky or water.
For years I tried different programs, PanoVolo and PTGui Pro among them. I have used PTGui Pro for a long time and it works very well with cameras on a tripod. With drones, in my experience up to version 13, it did not use the gimbal data, and skies came out with holes or misaligned frames.
That is why I built my own tool, AERO STITCH, which I use every day and keep improving. The workflow is simple:
- Load all the DNG files from the PANO folder (or all the brackets, for HDR).
- Run the automatic stitch, which reads the gimbal data.
- Choose the projection and the centre of the view.
- Export a stitched DNG and edit it in Lightroom or Camera Raw like a single RAW photo.
Today it also stitches HDR panoramas from bracketed frames.
Choosing a projection
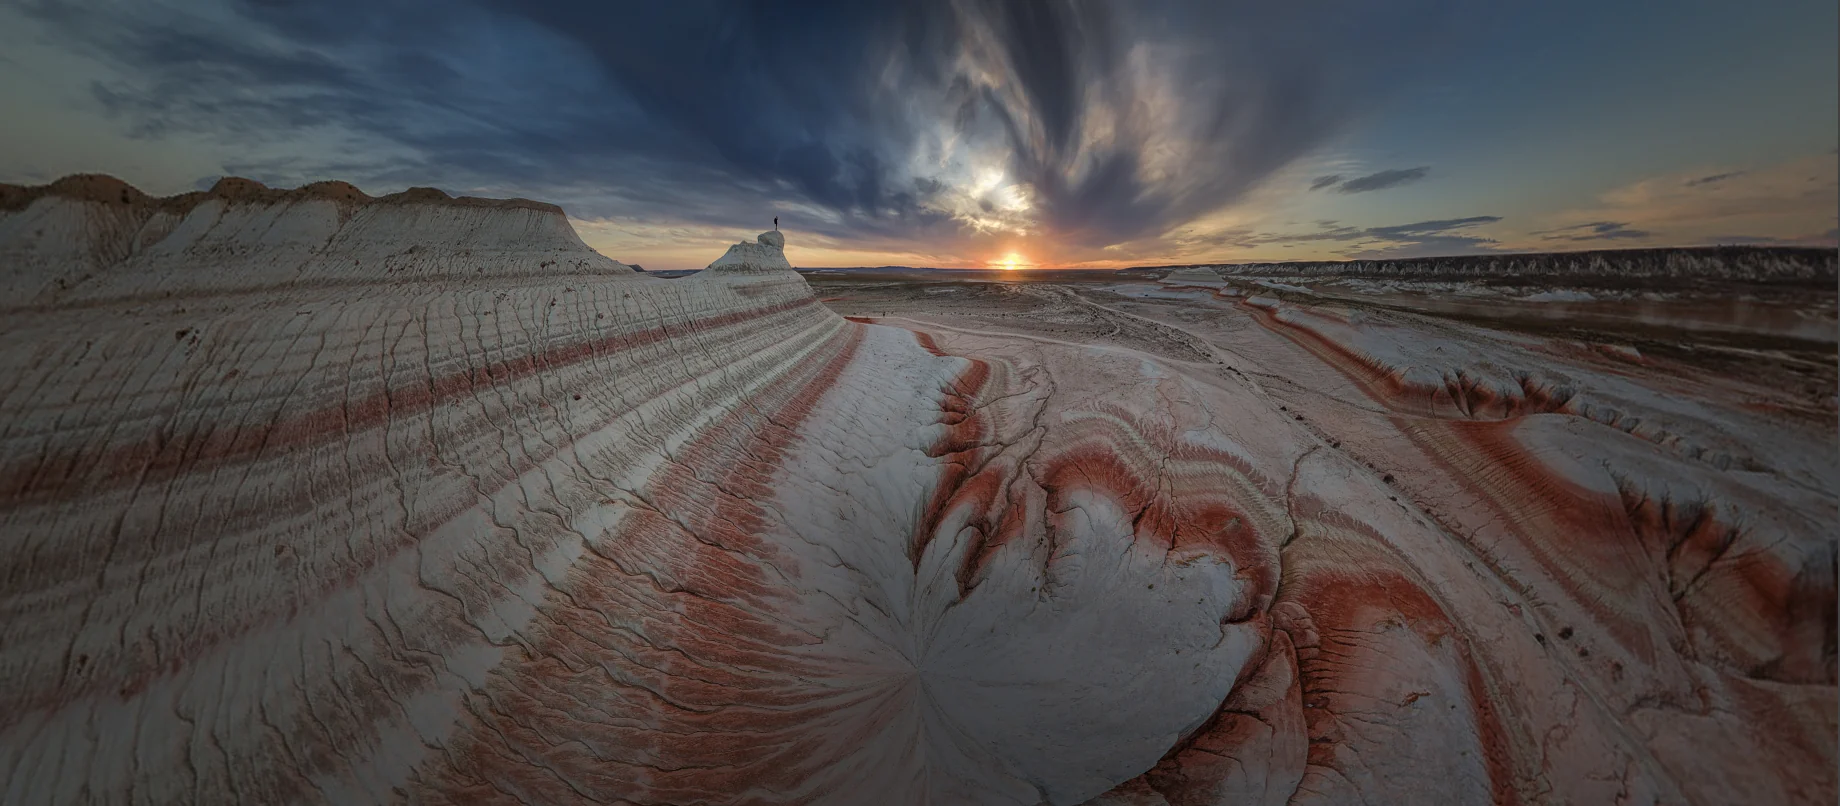
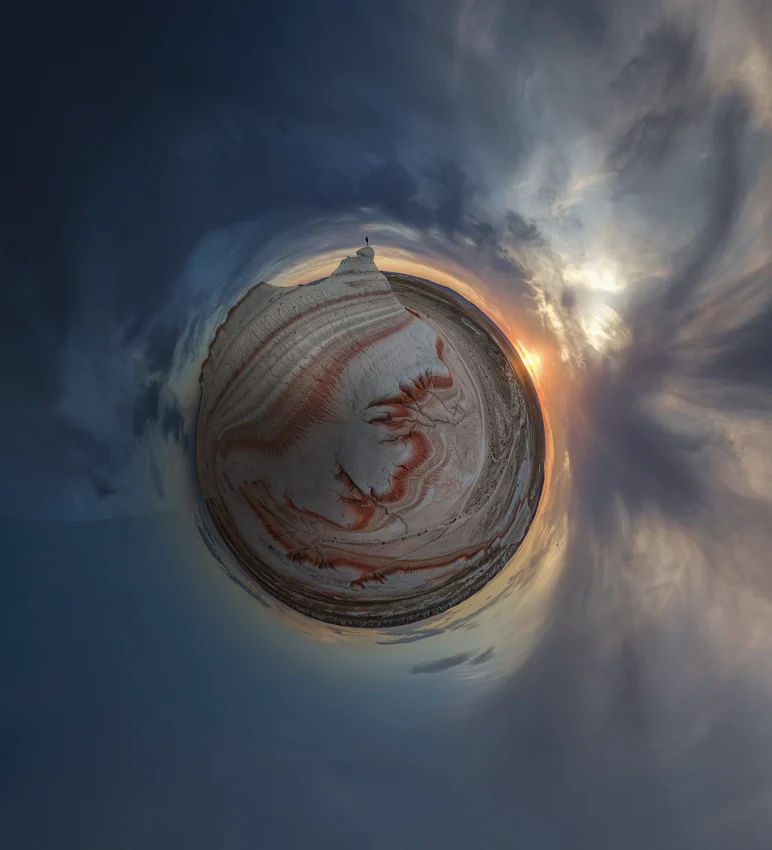
A full sphere can be flattened in several ways, and the projection changes the picture more than any slider in the edit. Below is the same drone sphere, shot at sunset over striped desert formations, in three projections.
- Mercator: a wide, flat view that keeps the horizon straight across the whole frame. My default when the landscape itself is the subject.
- Stereographic, centred on the horizon: the foreground comes closer and the lines curve around it. Strong and graphic, best when there is a clear subject in the middle.
- Fisheye pointed straight down: the “little planet”, with the ground closing into a circle and the sky wrapping around it.
- Pannini: lately I find it very interesting for wide views that are not full spheres, because it keeps vertical lines and proportions more natural.
Blending a drone panorama with a night sky
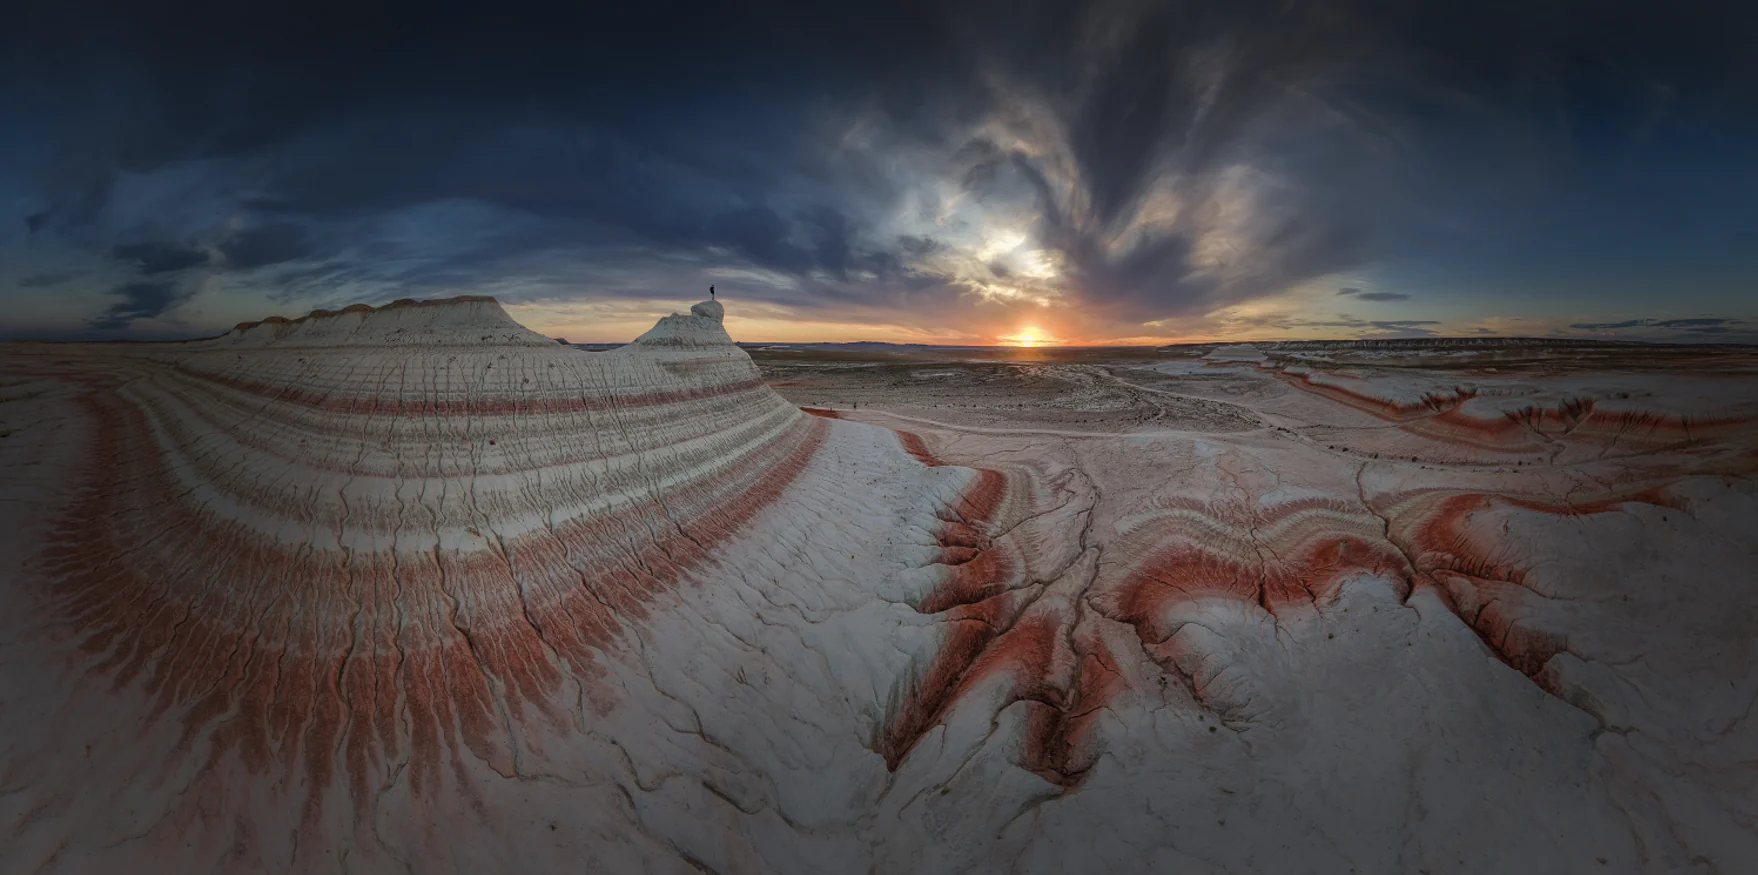
A drone cannot hold still for the long exposures a night sky needs, let alone for star trails. That does not mean the night is off limits. You can shoot a beautiful panorama of the land from the drone and blend it with a sky photographed in the same place, on the same evening or the same day.
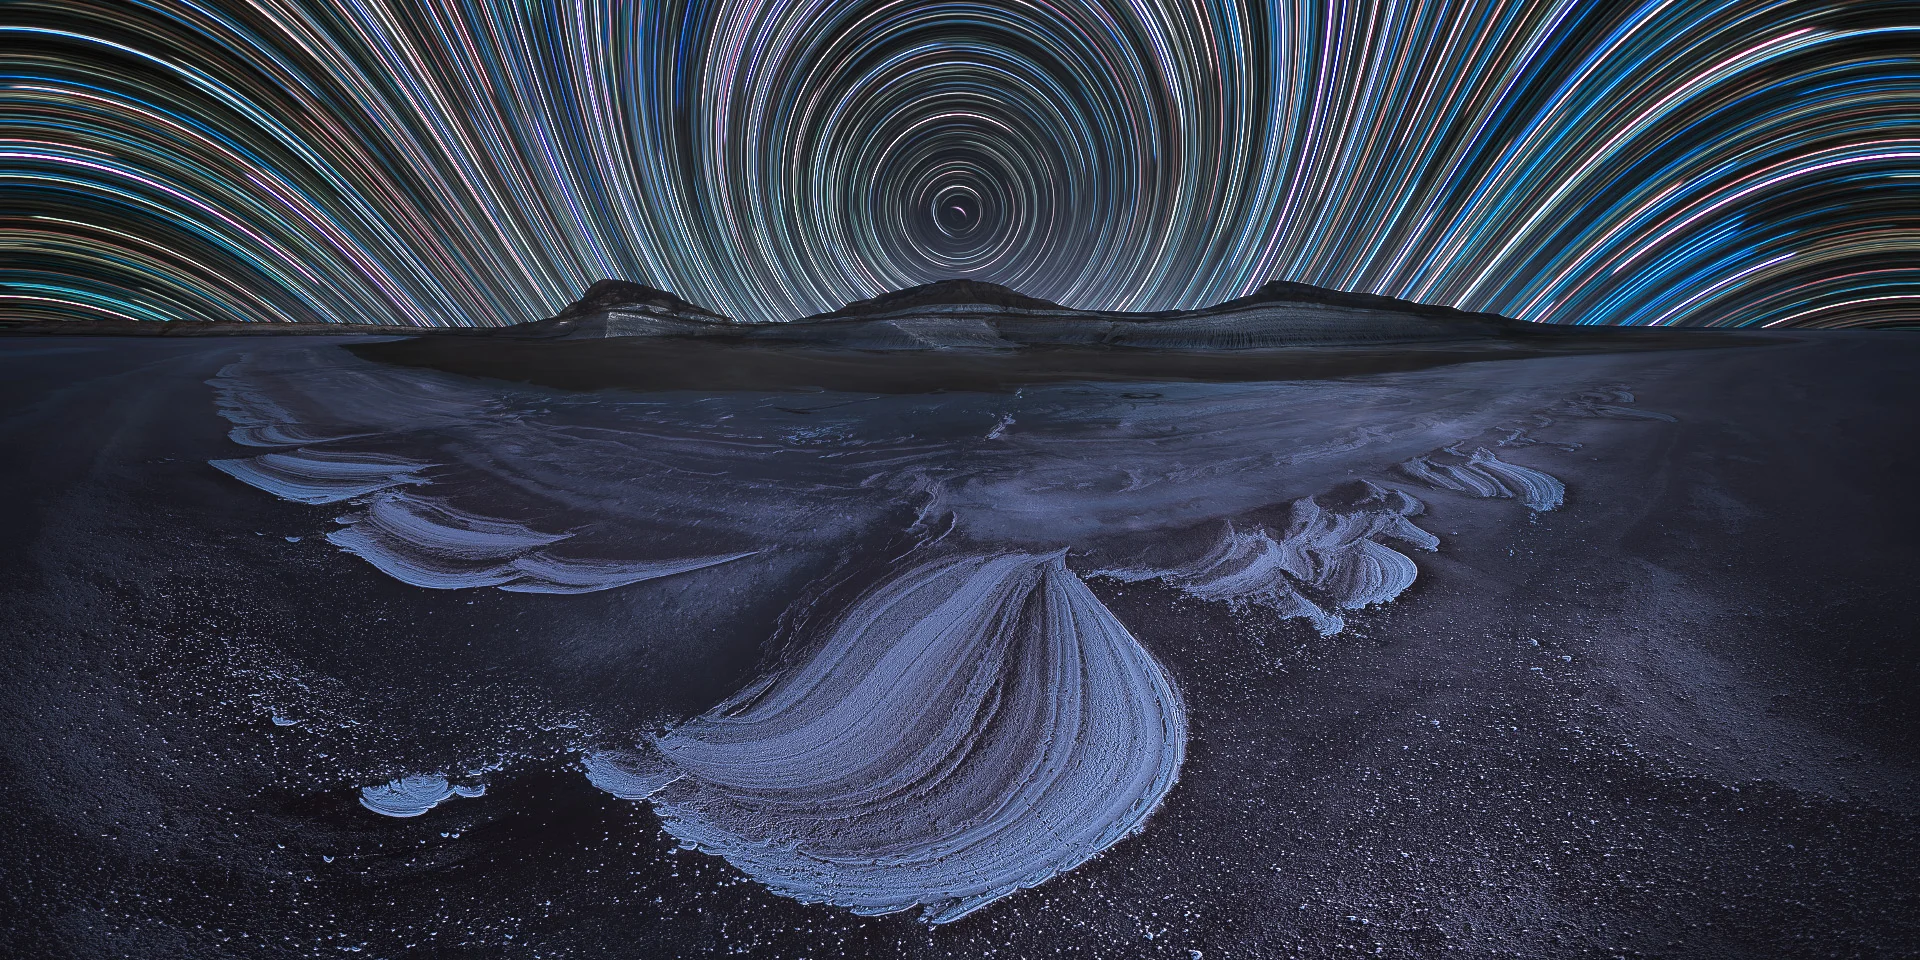
The rule that matters is honesty, with yourself and with the people who look at your work. A blend is a legitimate creative choice when you say it is a blend: in the caption, on social media, and always in competitions, which have their own rules on composites. I am preparing a full guide on 360° night panoramas, with the shooting and blending workflow step by step.
Common mistakes
- Shooting JPEG instead of RAW, and losing the highlights for good.
- Editing the panorama the drone stitched in camera instead of the DNG frames.
- Expecting HDR from sphere mode, which does not bracket.
- Letting the shutter drop below 1/100 s to keep ISO low, and getting soft frames.
- Exposing for the shadows: in the air, the highlights are what you lose first.
- Using stitching software that ignores the gimbal data, then fixing holes in the sky by hand.
Before you fly, check the drone rules of the country and the area you are in: protected areas and national parks often have their own restrictions.
AERO STITCH waitlist
AERO STITCH is the drone panorama stitcher I built for my own work: it reads the gimbal data, merges HDR brackets and exports a DNG you can edit like a single RAW file. It will be available soon under licence, with a tutorial on shooting spherical panoramas and stitching them. Join the waitlist and you will be the first to know.
Want to go further with panoramas in the field? See the Extreme Panoramic Landscapes course or join one of my photo tours.
Frequently asked questions
How many photos does a DJI drone take for a 360° sphere panorama?
With the DJI Mavic 4 Pro the sphere panorama is 43 frames and covers the zenith, so the sky closes completely. With the Mavic 3 it was 34 frames and the zenith was left uncovered.
Can I shoot an HDR 360° panorama with a DJI drone?
Not in sphere mode: the automatic 360° sphere does not bracket. HDR is available in free panorama mode. Set the panorama to Free, then open the camera settings and turn on HDR. I recommend 5 bracketed frames.
What are the best camera settings for a drone panorama?
RAW, auto exposure with −1 to −1.7 EV compensation, ISO allowed higher than you would normally use, shutter no slower than 1/100 s, and f/8. If nothing is close to the drone you can open up to f/2.8.
Should I use the panorama the drone stitches automatically?
Only as a preview. The drone saves an assembled JPEG with the same name as the PANO folder, but the quality and the editing latitude are in the RAW DNG files inside that folder. Stitch those.
Why does my stitching software fail with drone panoramas?
A drone panorama is stitched correctly when the software reads the gimbal orientation stored in each file. In my tests, programs built for camera panoramas did not use those gimbal data, which is why skies come out with holes or misaligned frames.
Which projection should I use for a drone panorama?
For a full sphere I mostly use Mercator, for a wide flat view with a straight horizon, or stereographic centred on the horizon, for a more graphic look. A fisheye pointed straight down gives the little planet. Pannini keeps lines more natural in wide but not complete panoramas.
Which drone is best for panoramas if I am starting out?
A DJI Mini or the Mavic 4 Pro. Recent models improved dynamic range and the sphere mode a lot compared with older drones.