Ultra-Wide and 360° Panorama Photography with a Fisheye: My Camera Method
By Alex Wides, landscape and panoramic photographer · Updated · 12 min read

To shoot an ultra-wide or 360° landscape panorama, use a fisheye of 180° diagonal on a full-frame camera, turn the camera vertical on a lens-mounted nodal bracket, and shoot a single row: with a 12mm fisheye, 4 frames cover a full 360° and already give a 2:1 image. Keep the same settings and focus for every frame, build the scene around one strong light (sun, moon or Milky Way), balance it left and right, and stitch the RAW files into a DNG.
Key takeaways
- The look of an ultra-wide panorama comes from its distortion: curved, close, almost invasive foregrounds. Lenses longer than 14–16mm cannot give it.
- I shoot only with fisheyes, mainly the Samyang 12mm f/2.8: a diagonal fisheye with 180° from corner to corner on full frame.
- From f/4 the fisheye keeps everything sharp without focus stacking, and you do not need to get down to the ground.
- Camera always vertical: you use the long side, shoot one row, and a 360° comes out at 2:1 (360 × 180°).
- With a 12mm fisheye: 4 frames for 360°, 3 for 270°, 2 for 180°. With a 14mm you need 6–8 frames and two or three rows.
- A panorama works when it has one strong light and is balanced left and right. Flat places like beaches and squares do not work.
- Same settings, same focus on every frame; auto white balance, then equalised before stitching; stitch the RAWs into a DNG.
Why ultra-wide: the distortion is the point
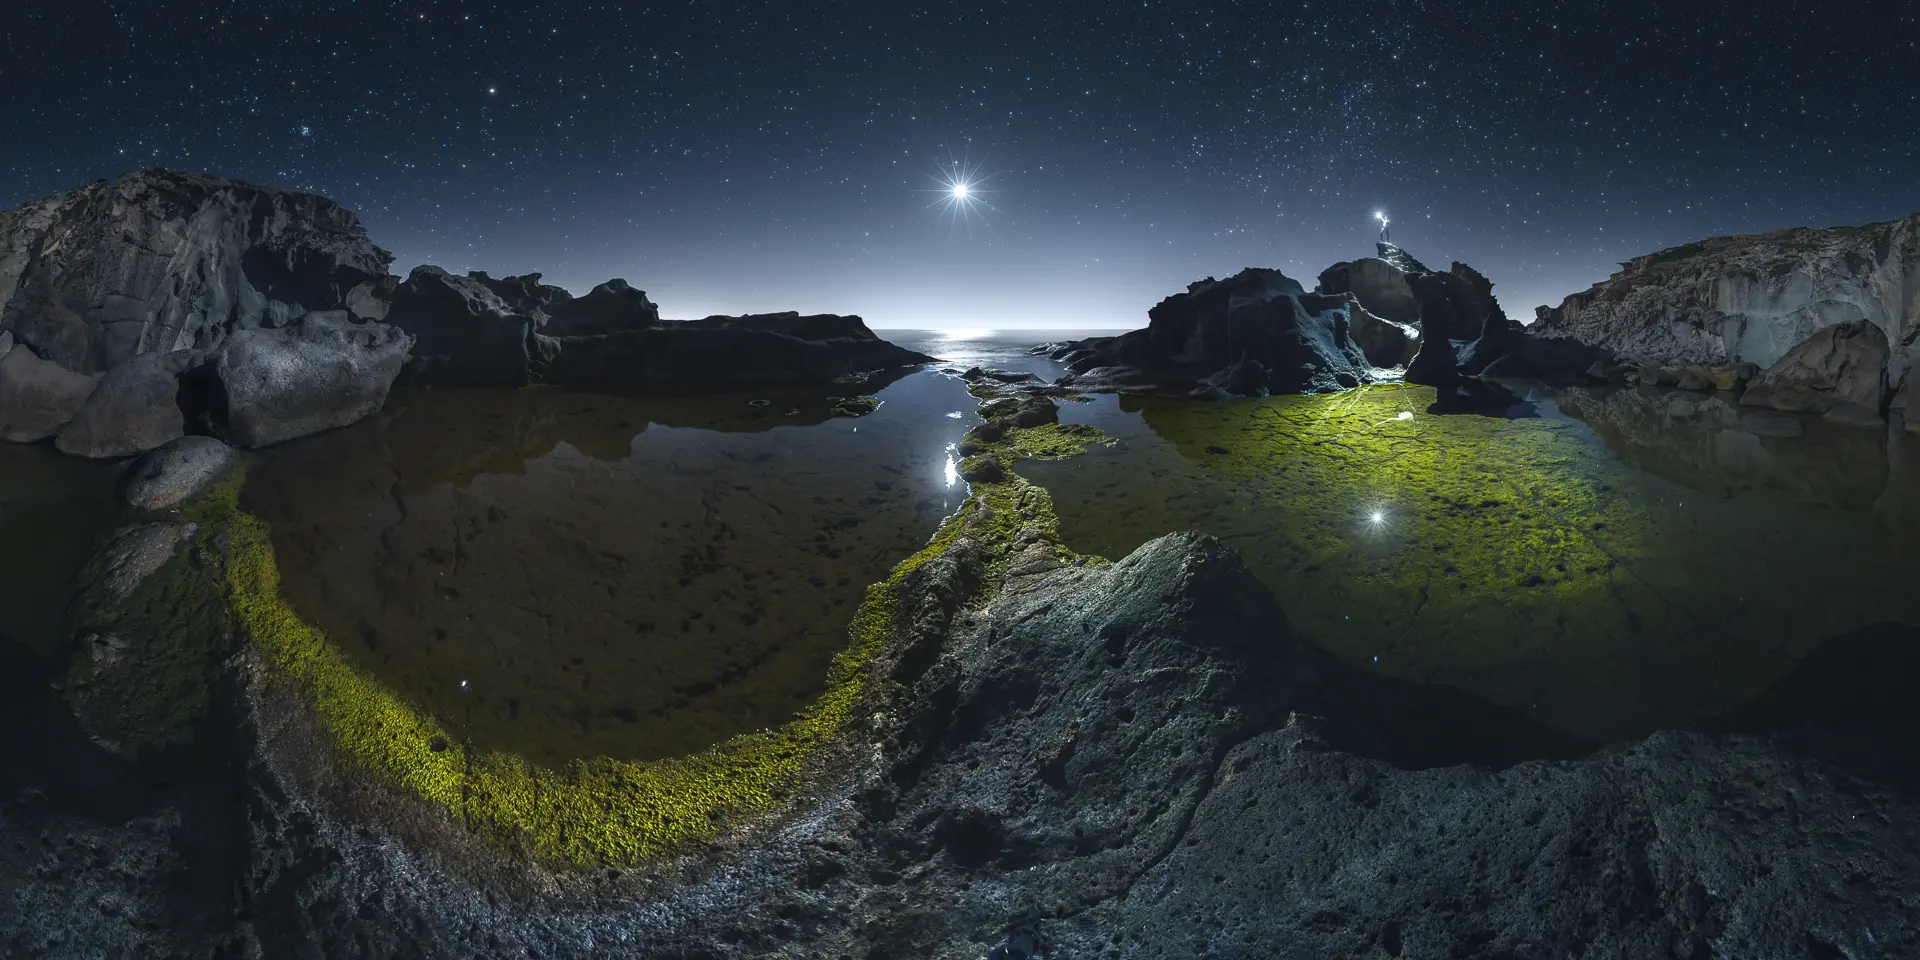
I shoot only ultra-wide landscape panoramas, never with telephoto or standard lenses. The reason is the distortion. At the base of an ultra-wide panorama there is a deformation that makes it eye-catching and different from any other photograph: very developed, almost invasive foregrounds at the bottom of the frame, rounded shapes, arcs and semicircles, what I call the “banana effect”. You do not see it often, and it is what stops people scrolling.
The lens: a 180° fisheye
To get that effect, forget lenses longer than 14–16mm. You need an ultra-wide lens with the widest possible angle of view. I use only fisheyes, from about 120–140° up to 180°. My main lens, the one I have used the longest, is the Samyang 12mm f/2.8 fisheye: I have sold it and bought it back three times.
It is a diagonal fisheye: 180° from corner to corner on a full-frame sensor. It does not make the black circle of a circular fisheye; the image fills the whole frame. Because it sees from the zenith to the nadir, the tripod legs end up in the picture, and I remove them every time. It is a small price for three big advantages:
- No focus stacking. From f/4 everything is sharp, from the rocks in front of you to the horizon. I do not have to get down to the ground or stand right on top of the foreground, and I avoid focus stacking, which across a whole panorama is really complicated. Night panoramas stay simple too.
- Fewer frames. The wider the lens, the fewer photos you need to cover 180°, 270° or 360°.
- One row. Sky and foreground fit in the same frame, so you never need a second or third row.
The camera brand does not matter, but use at least a full frame, so you keep the full angle of view with no crop factor. Medium format works too, although there are still few lenses wide enough for this style. Manufacturers are making wider and wider lenses, so the options will grow.
Camera vertical, one row, 2:1
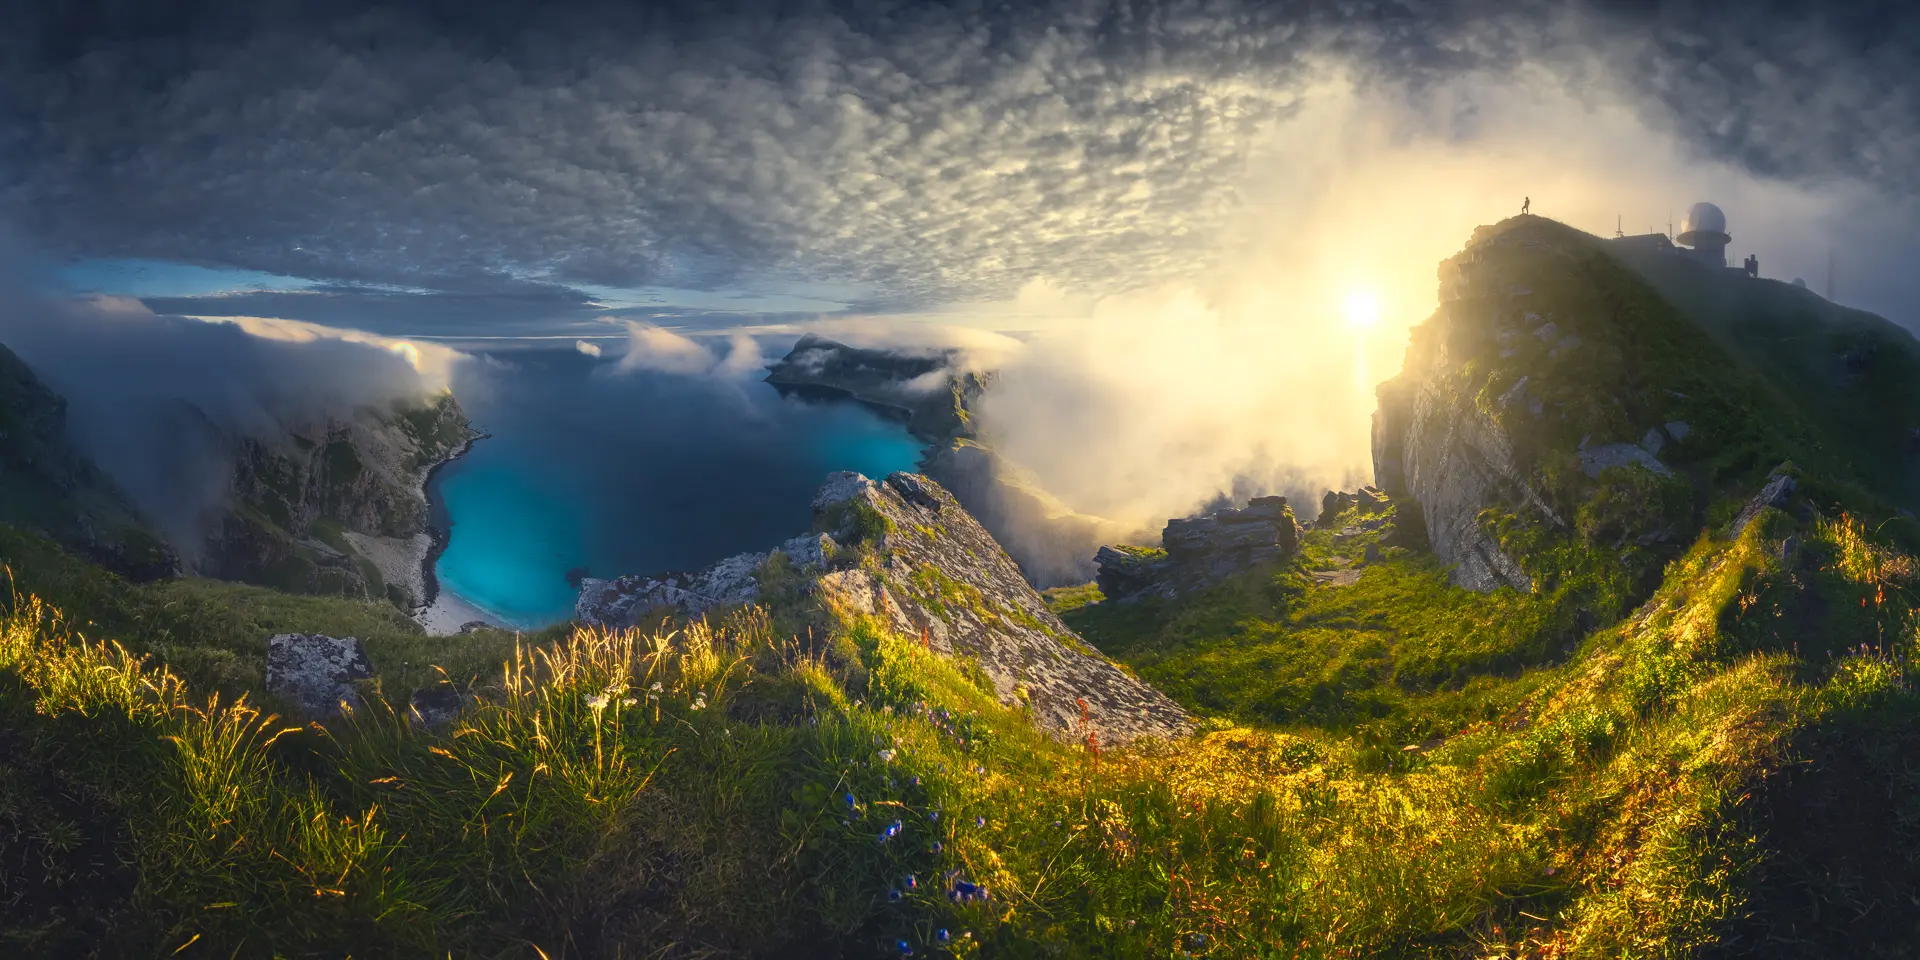
From the ground I shoot panoramas only with the camera vertical. This is the real game changer: the long side of the sensor covers the height of the scene, so instead of a thin, low strip you get a properly proportioned image. A full 360° already comes out at 2:1, which is 360 × 180 degrees, without forcing strong distortions afterwards.
How many frames you need
With a 12mm fisheye and the camera vertical, rotating 90° between frames:
- 360°: 4 frames.
- 270°: 3 frames, with margin.
- 180°: 2 frames.
With a 14mm lens of about 120°, the angle is not enough to take in sky and foreground together: you need 6–8 frames per row depending on your nodal setup, and two or three rows, one tilted up and one down. Every extra row is another chance for stitching errors.
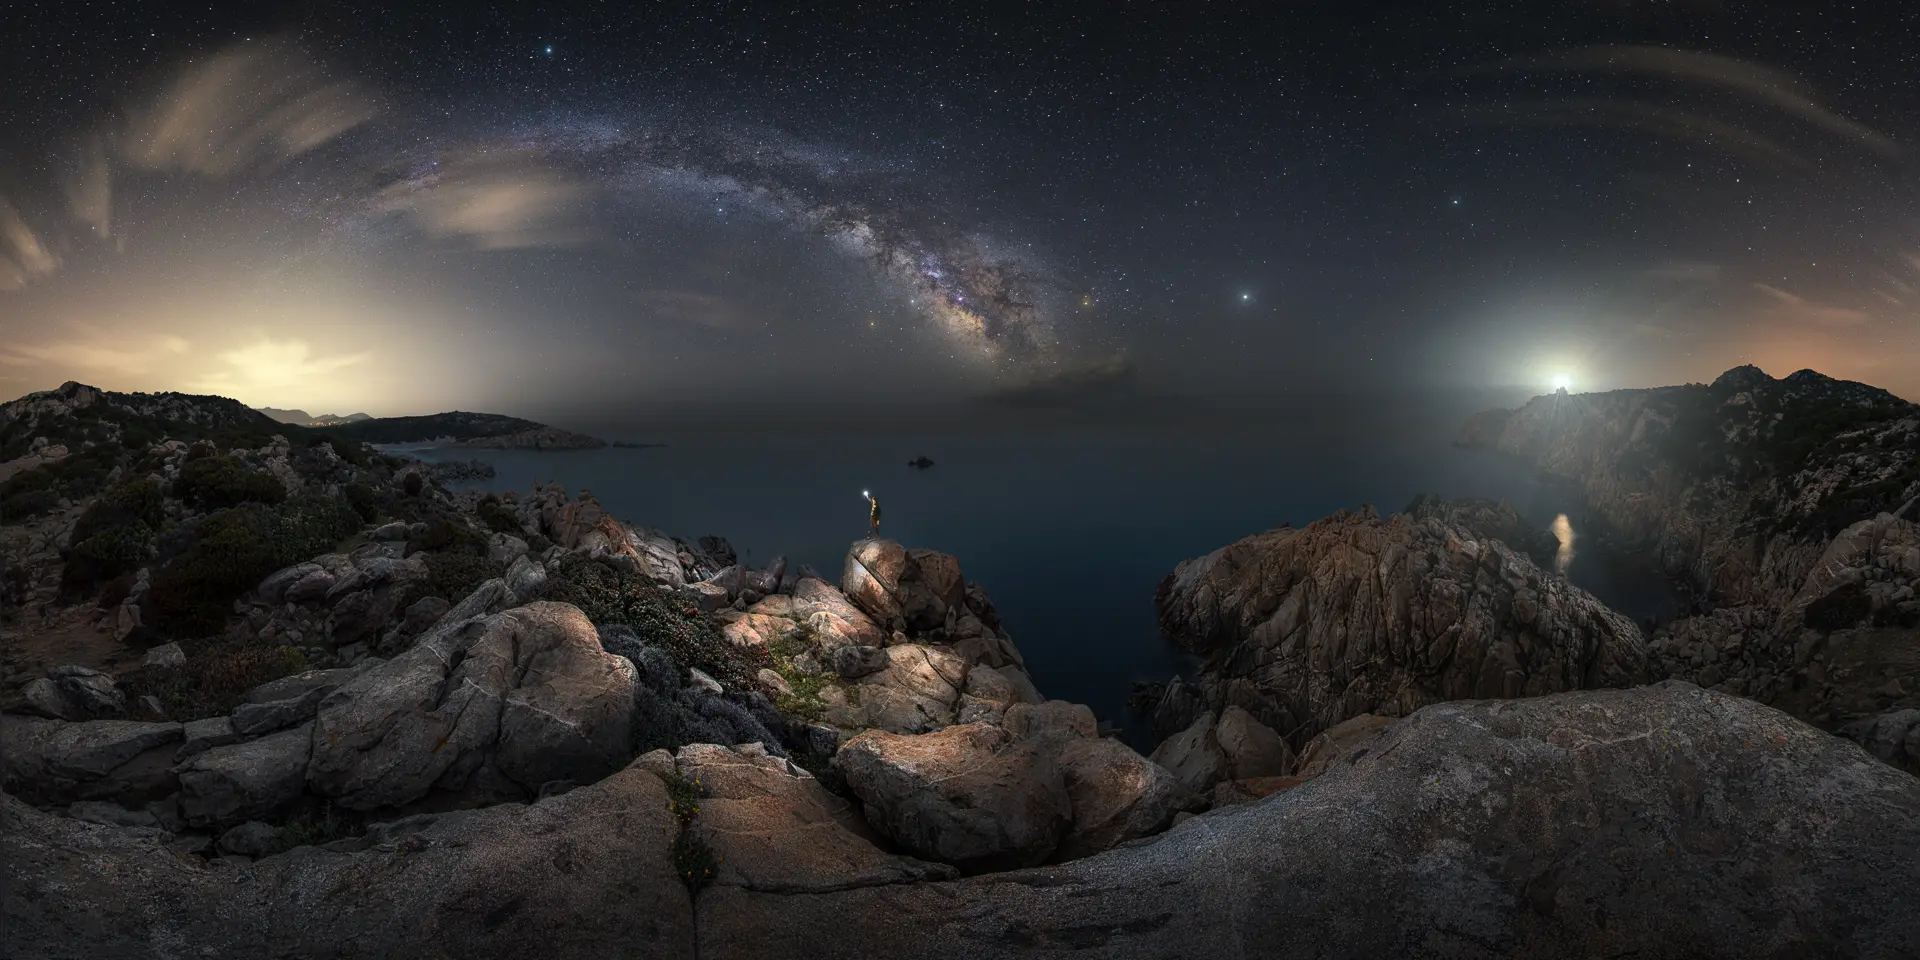
For the Milky Way arch, a 180° subject shot at night, I keep about 30% overlap between frames, because the software has fewer details to match: that means about 6 frames with a 12mm fisheye and 8 with a 14mm.
Nodal point and parallax
You can make a panorama with a normal ball head: camera vertical, ten frames, done. But the most reliable way to get a perfect blend, a wide angle of view and no parallax errors is to rotate around the nodal point (technically the no-parallax point). Parallax is what makes the foreground and the background shift against each other between frames.
There are two main kinds of nodal bracket:
- L-shaped brackets, which hold the camera body and move it back so the nodal point sits over the centre of the tripod.
- Lens-mounted brackets, which hold the lens itself and leave the camera behind it. Each one is specific to a lens, and there are many for fisheyes. I use the Nodal Ninja R1 with the RD10 rotator.
The lens-mounted setup is lighter and more solid at the same time, but it does not let you tilt much up or down. That is not a problem with a fisheye, because you always shoot the same single row.
Settings, focus and white balance
There are no magic numbers: ISO, shutter and aperture depend on the light, and common sense should lead you to read it. My usual starting points, light permitting:
- Camera on a tripod: f/13, ISO 100, the shutter speed the light requires.
- Drone: f/8 (f/2.8 if the foreground is far), ISO higher if needed, shutter not slower than 1/100 s, auto exposure at −1 to −1.7 EV to protect the highlights around the sun.
Three rules matter more than the numbers:
- Nothing changes between frames. Exposure, aperture and focus must be identical on every frame, otherwise the stitching software struggles.
- Focus on the horizon, the same for every frame.
- White balance on auto, then equalise it. Before stitching, set the same white balance on all the frames. Always.
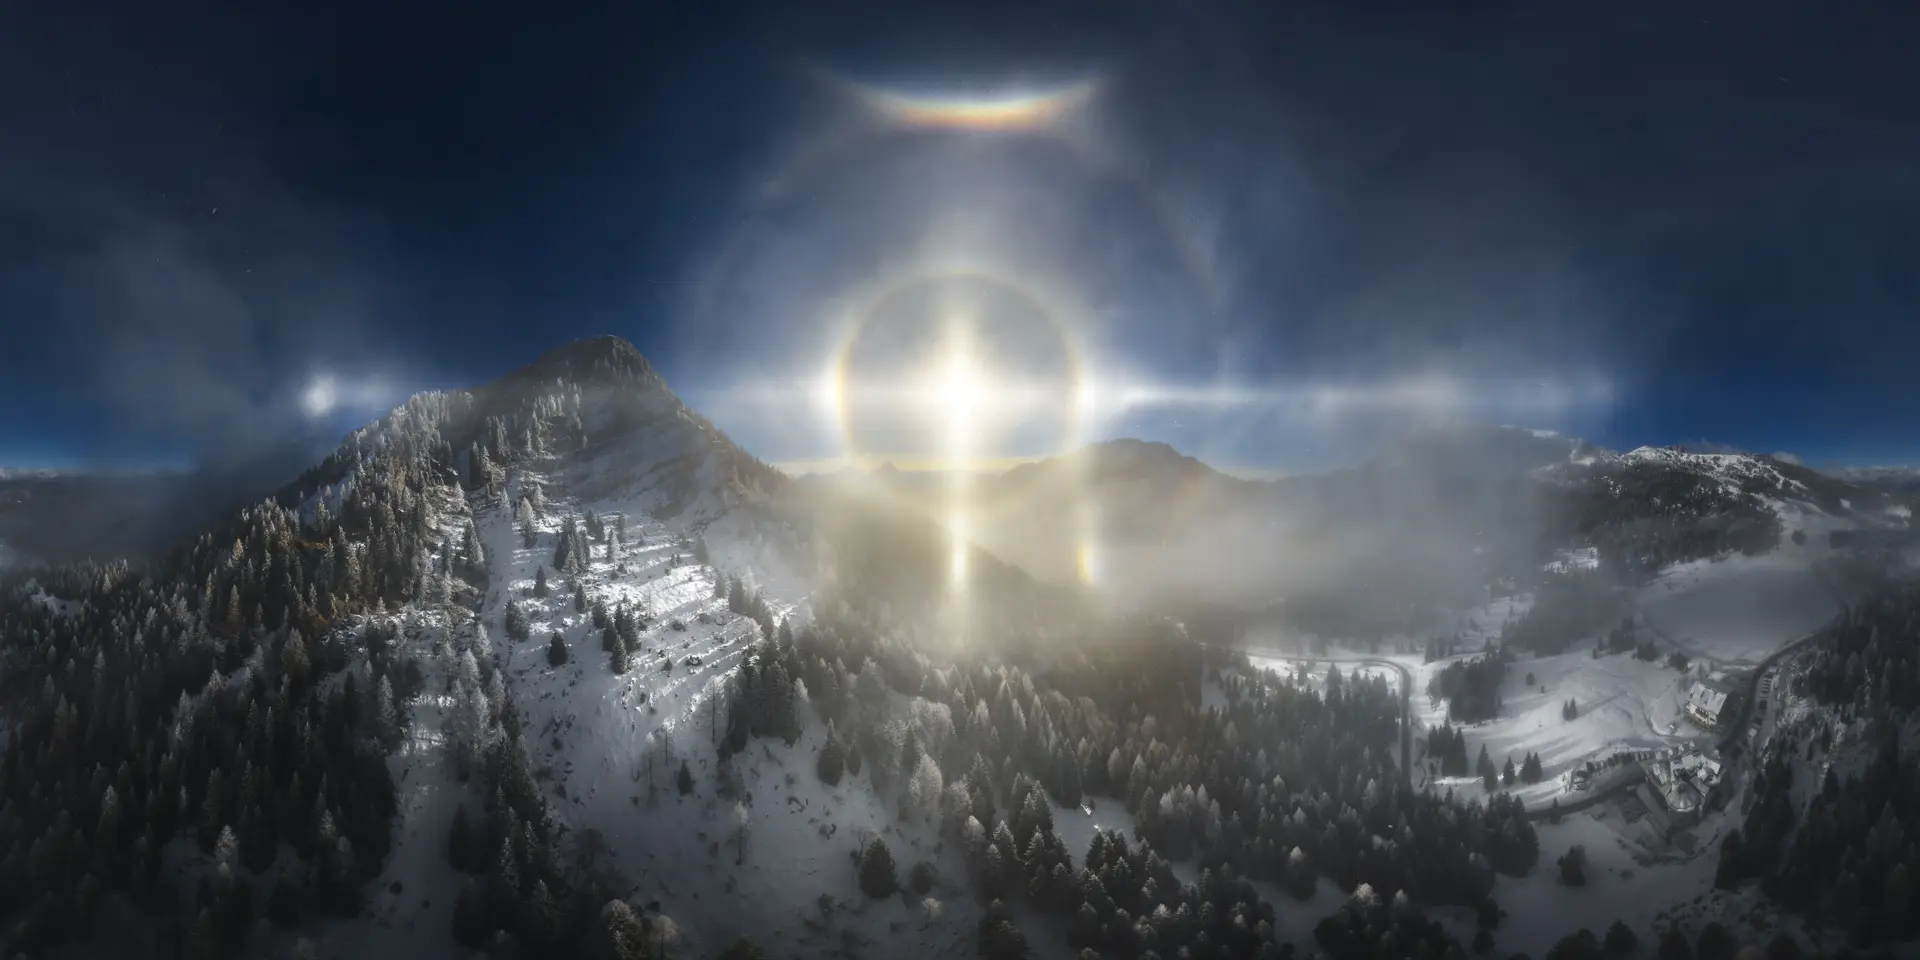
When you shoot against the sun, underexpose by −1.7 EV to keep the whole dynamic range around it. The sun disc will burn anyway, but the sky around it will not.
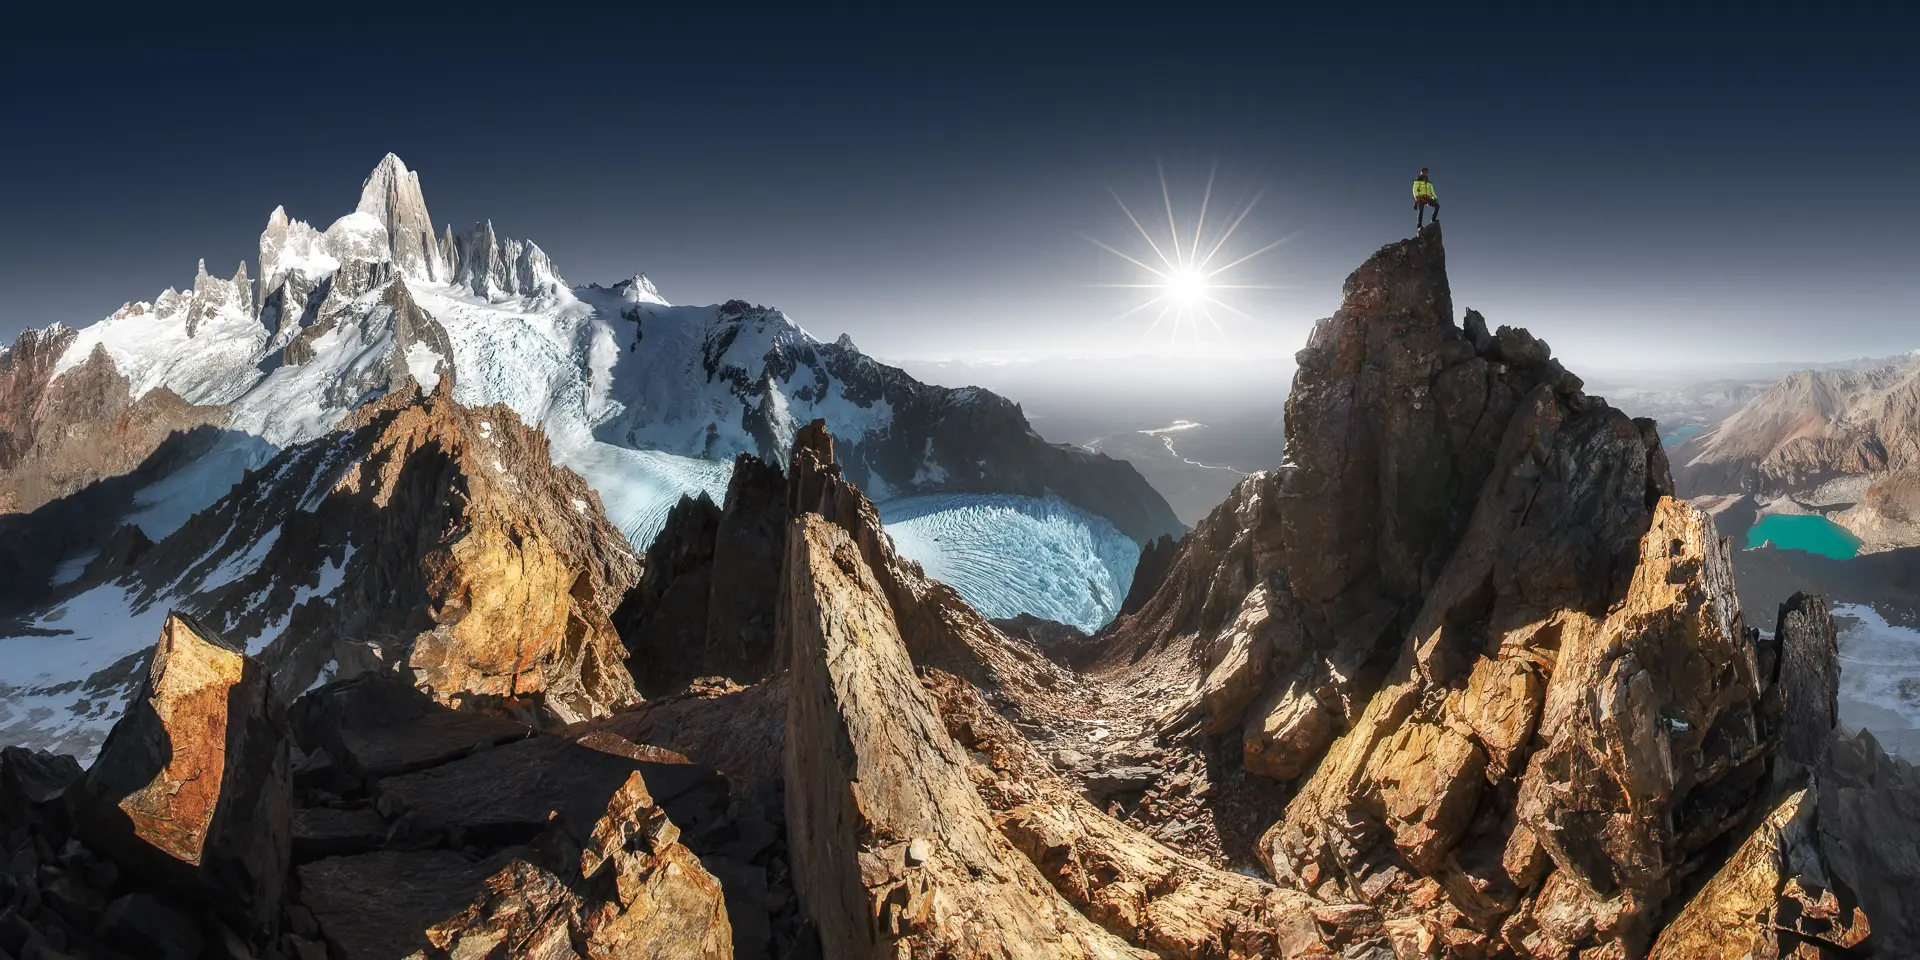
Composition: light, balance and framing
One strong light
A panorama works when it has one big source of light that grabs the eye: the sun, the moon or the Milky Way. Without it, a panorama rarely works. The sun can also have set, but then you need a very strong sunset or sunrise, with powerful reds, and you will have to enhance the glow on the horizon in post-production. Sunrise and sunset remain the best moments, as for any landscape photograph: the light is softer and the quality of the ambient light is better.
Balance left and right
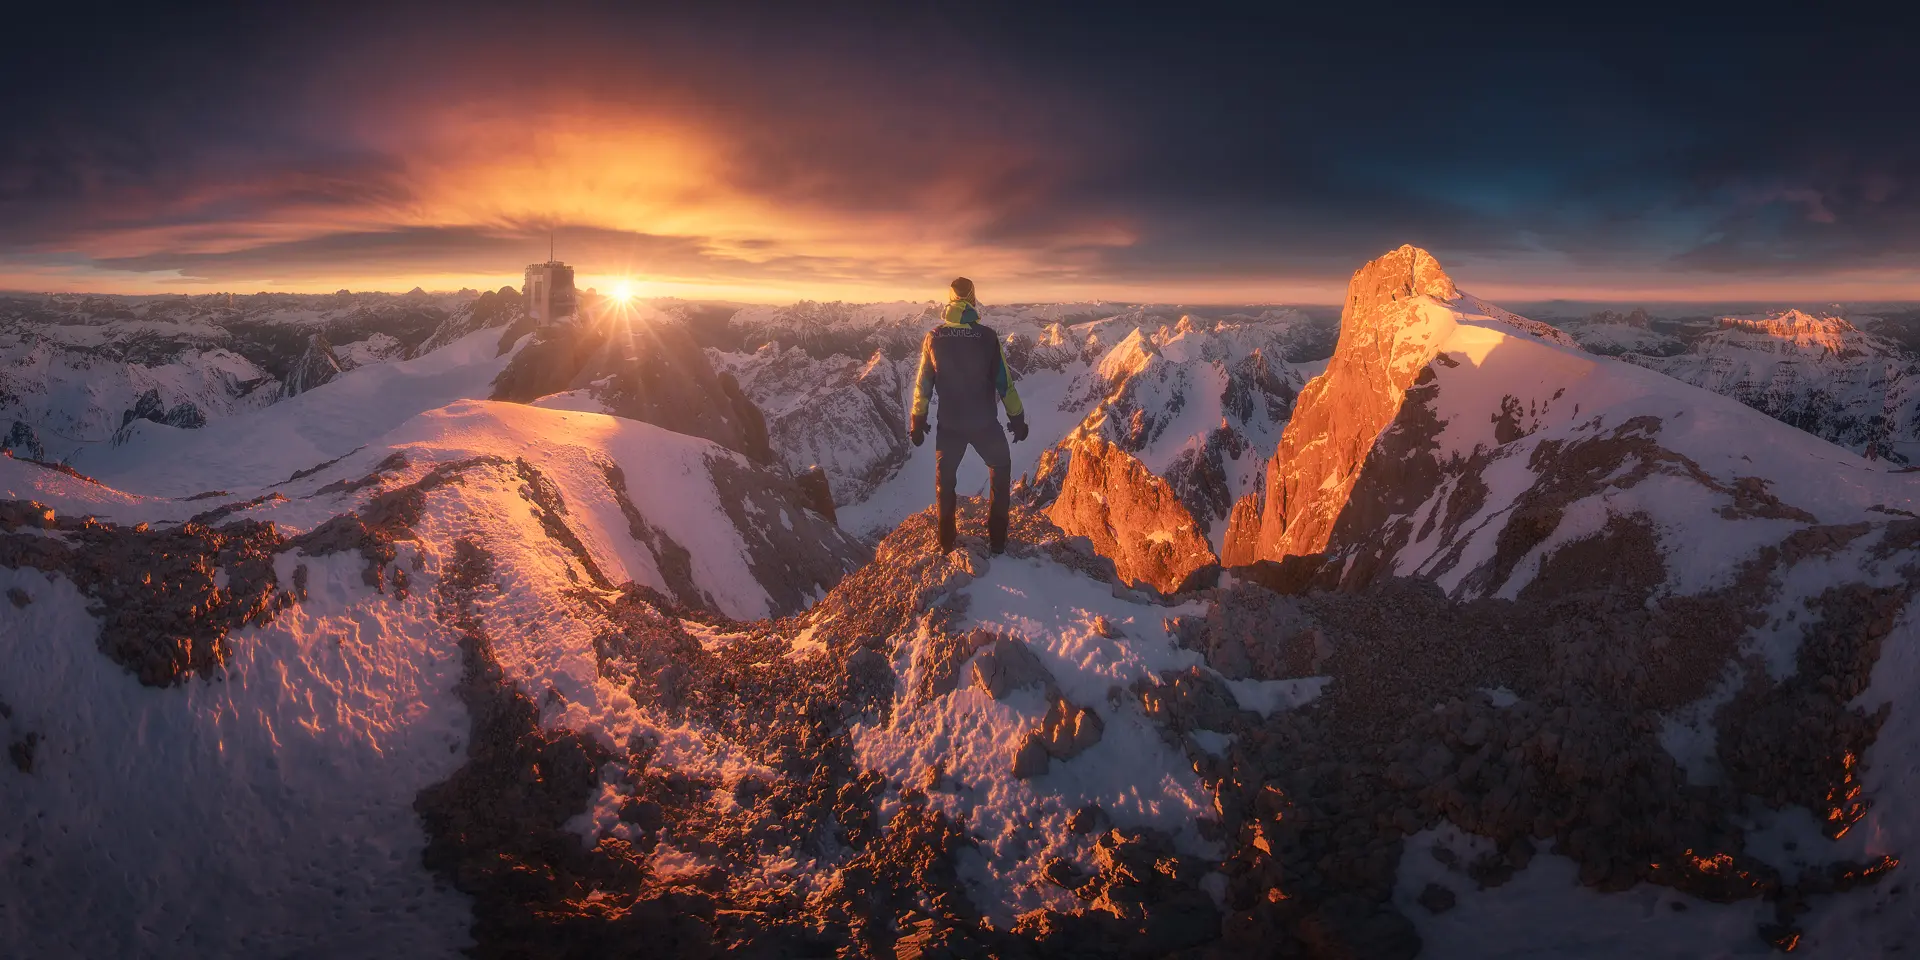
Compared with a single frame, a panorama must carry the same weight on the left and on the right. The weight comes from natural elements, such as rocks, sea stacks and mountains, compensated by the sun or by a person:
- A big rock on the right? Put yourself on the left with a small light in your hand: a human element is very eye-catching.
- A mountain on the right? Let the sun be the strong element on the left.
The panoramas that work best are full, rich in elements. Trees rarely work well in a panorama: keep that in mind.
Framing from inside
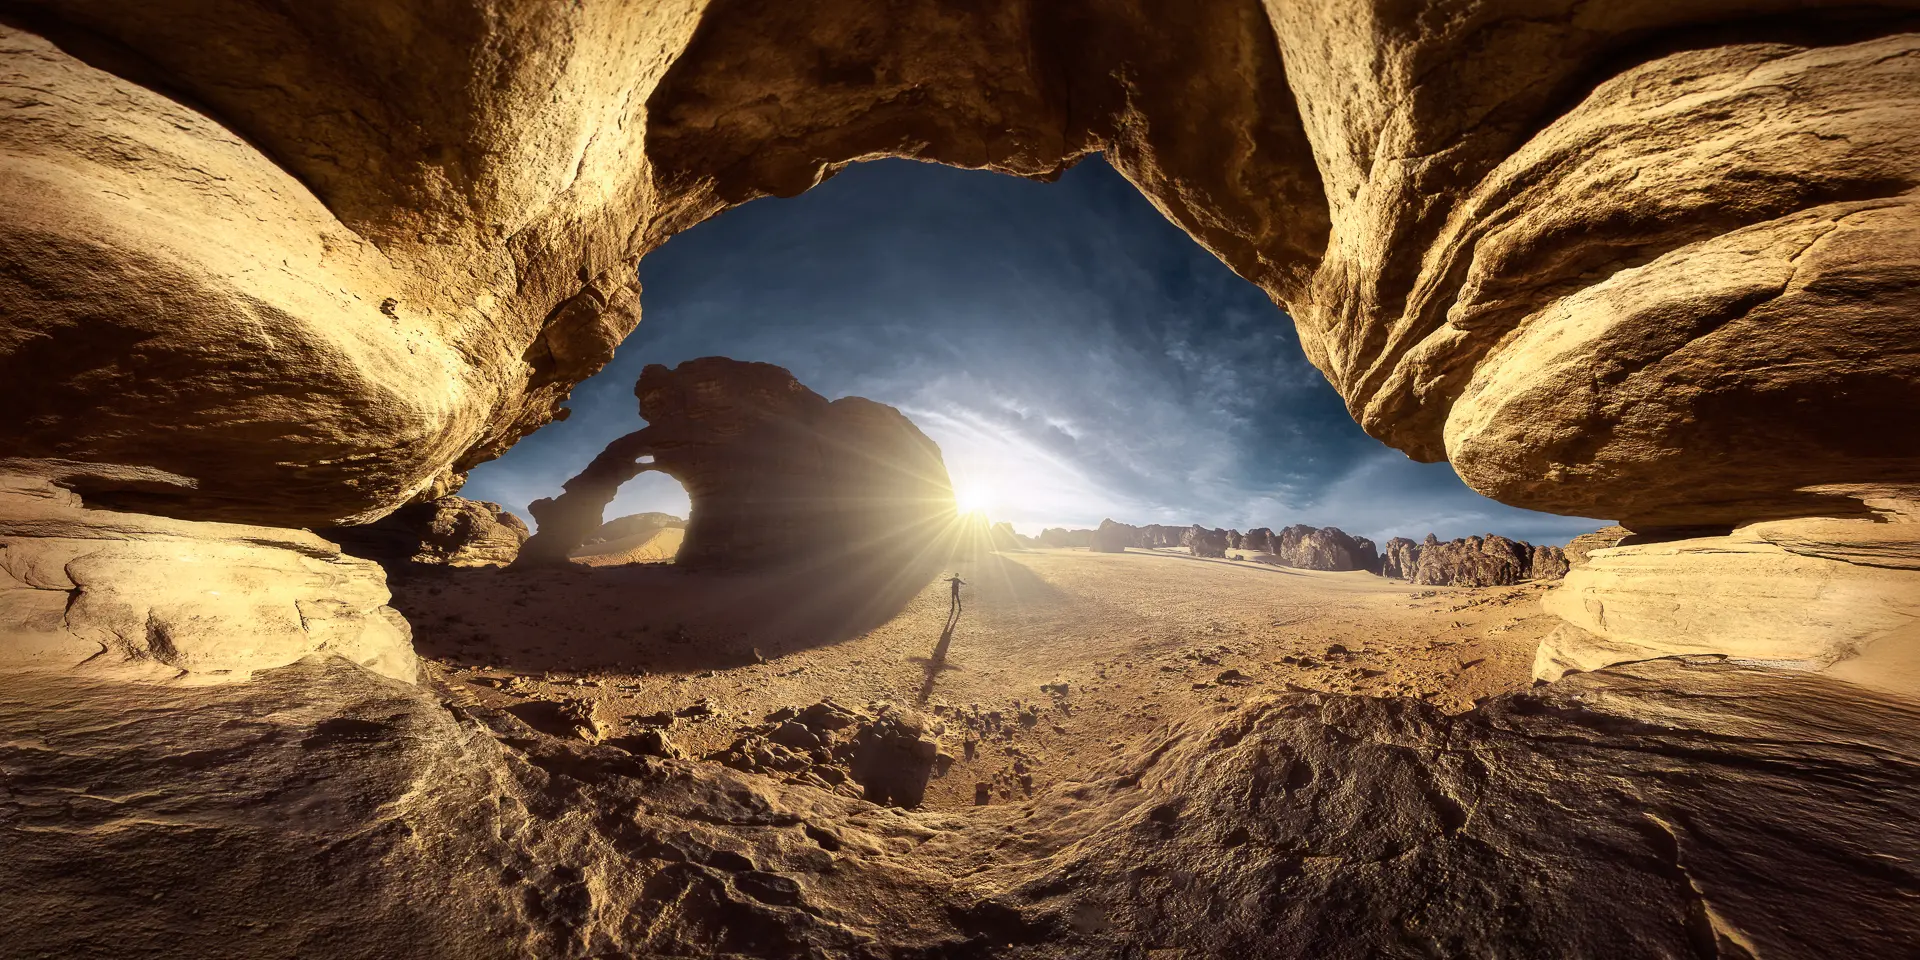
A natural frame, such as a cave or a rock hollow, makes the panorama feel even wider and gives it the strength of a view looking out. Caves are not easy to find, and the frame must be even: the same amount of frame on the left and the right, at the top and the bottom. A few leaves, branches or bushes entering from one side are not a frame; they are a distraction.
Choosing the right place
Not every place is good for a panorama. A beach or a city square comes out flat, because there is nothing to fill the frame. A panorama is built by filling the empty spaces: rocks, ridges, formations, an amphitheatre of shapes all around you. That is why the places on my photo tours are chosen specifically for panoramic photography.
Stitching software
Post-production starts before the stitch: check your files and choose the frames. Then pick the software. Several have come and gone over the years.
- PTGui has been the undisputed reference for years, widely used for virtual tours. With camera panoramas it works very well, especially once you have set it up for your needs. With drone panoramas, in my experience and at the time of writing, it does not read the gimbal data, and it leaves holes.
- Autopano Giga was a good program, and it handled night panoramas well, but development has stopped and it is now free: fine to start, not enough for advanced work, especially with drones.
- PanoVolo is made for drone panoramas. I tried it and found it slow.
After years of tests and stitching problems, I built my own: ALEX WIDES AERO STITCH. It stitches landscape panoramas from both the camera and the drone and exports the result as a DNG. A DNG panorama keeps the RAW data of the original frames, with their dynamic range and colour, so you can recover highlights as if it were a single RAW file. The workflow is simple: load all the frames, run the automatic stitch, optimise if the software flags a problem. The full tutorial comes with the tool.
From the stitch to the final image
Once you have the DNG panorama, the development is about light and shadow: emphasising them to guide the eye through a very wide frame, then cropping to 2:1. I teach the whole process step by step in my video course Extreme Panoramic Landscapes.
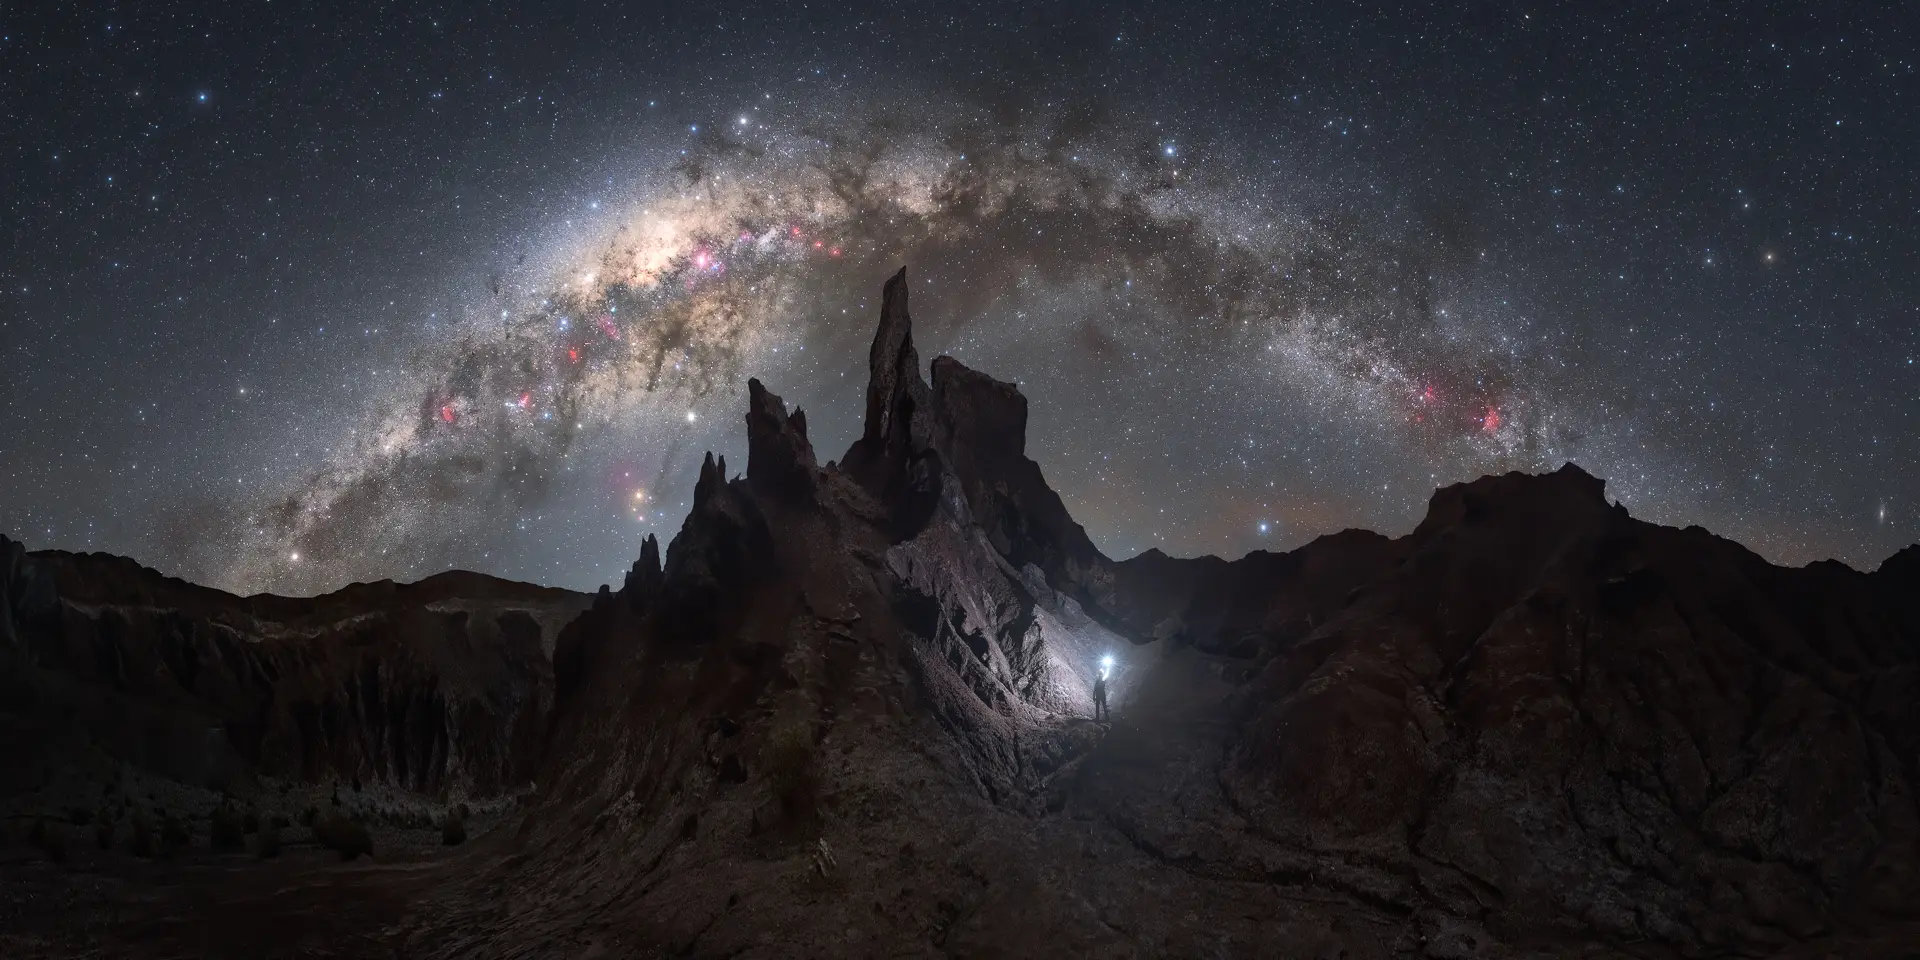
At night the same method works with the Milky Way and the moon. Lately I prefer moonlit panoramas: see my Moonlight collection. For the Milky Way arch, read my guide to Milky Way panoramas.
Learn it with me
- Extreme Panoramic Landscapes: the complete video course, from shooting to editing.
- 360° Star Trail Panoramas: the night method.
- One-to-one lessons: if your panoramas do not stitch, or you want a study plan built around you, write to me.
- Photo tours: shoot panoramas in places chosen for them, with me next to you.
Frequently asked questions
What is the best lens for 360° landscape panoramas?
A full-frame diagonal fisheye with 180° of view, such as the Samyang 12mm f/2.8 I use. It gives the curved, close foregrounds of ultra-wide panoramas, keeps everything sharp from f/4 without focus stacking, and covers a full 360° in a single row of 4 vertical frames.
Should I shoot a panorama with the camera vertical or horizontal?
Vertical. You use the long side of the sensor for the height of the scene, so a single row of frames already gives a well-proportioned image: a full 360° comes out at 2:1, which is 360 × 180 degrees.
How many photos do I need for a 360° panorama?
With a 12mm fisheye and the camera vertical, 4 frames rotated by 90° cover a full 360°, 3 frames a 270° and 2 frames a 180°. With a 14mm rectilinear lens you need 6–8 frames per row and two or three rows.
Do I need a nodal point bracket for landscape panoramas?
You can stitch a panorama shot on a normal ball head, but rotating around the nodal point (the no-parallax point) removes parallax errors at the source, so foreground and background line up without fixes in post-production. I use a lens-mounted bracket, the Nodal Ninja R1 with the RD10 rotator.
What settings should I use for a panorama?
There is no universal recipe: read the light. My starting point on a tripod is f/13 and ISO 100. What matters most is that exposure, aperture and focus never change between frames, with focus on the horizon, otherwise the stitching software struggles.
What makes a landscape panorama work?
One strong light that catches the eye (the sun, the moon or the Milky Way), a scene full of elements, and a balance between left and right: a big rock on one side needs a strong element, such as a person or the sun, on the other.
Why do you crop panoramas to 2:1?
A 2:1 ratio, the long side twice the short side, keeps the image proportioned; 3:1 is simply too wide for my taste. It is also the format I used to win the Epson International Pano Awards.
Which software should I use to stitch panoramas?
PTGui has been the reference for years and works very well with camera panoramas. Autopano Giga is no longer developed and is now free. For drone panoramas, which need the gimbal data, I built my own tool, AERO STITCH, which stitches both camera and drone panoramas and exports a DNG.