Milky Way Panorama Photography: How I Shoot the Milky Way Arch
By Alex Wides, landscape and panoramic photographer · Updated · 11 min read
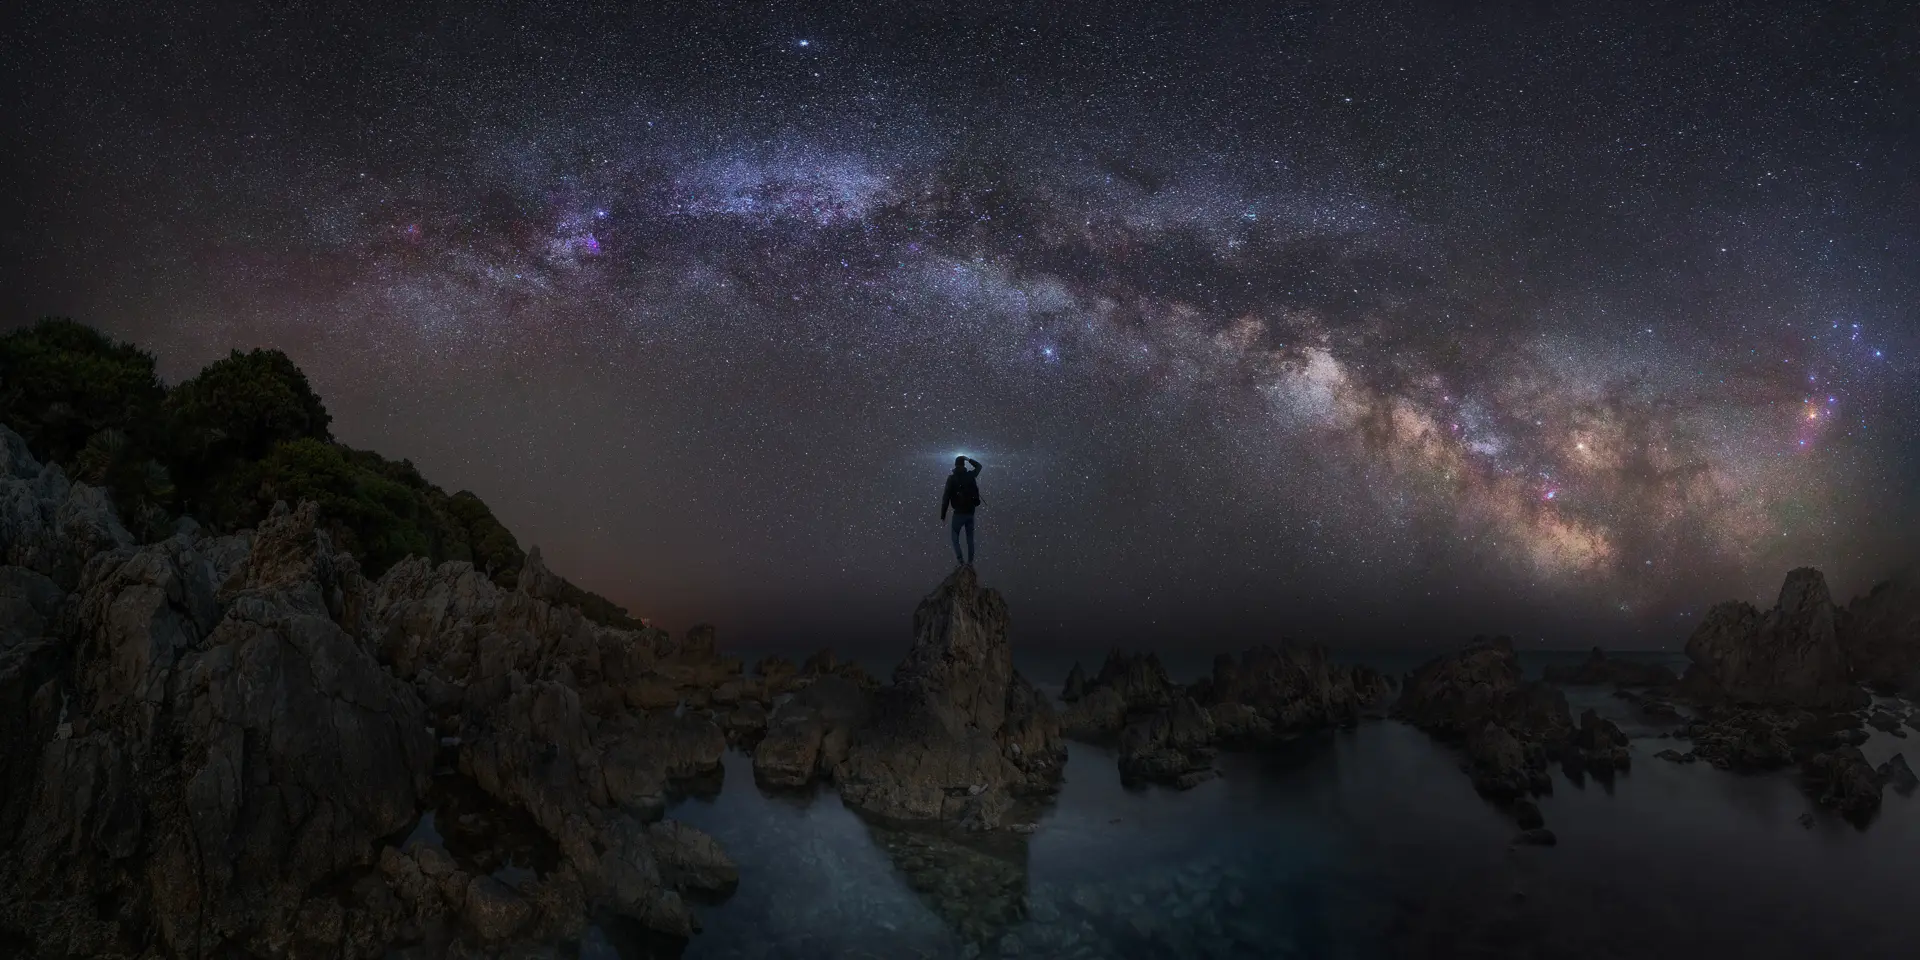
To shoot a Milky Way arch panorama, use a fisheye on a full-frame camera, turn the camera vertical and shoot the sky in one row with about 30% overlap: about 6 frames with a 12mm fisheye, 8 with a 14mm. With a star tracker I shoot the sky at f/4; without one, at f/2.8, ISO 4000 and about 20 seconds. Keep a strip of land in every sky frame, shoot the land separately with the tracker off or at blue hour, and say it is a blend when you publish it.
Key takeaways
- The Milky Way arch is a 180° subject: a fisheye with the camera vertical catches all of it in a single row.
- At night I keep about 30% overlap: about 6 frames with a 12mm fisheye, 8 with a 14mm.
- Keep one or two fingers of land at the bottom of every sky frame, or the software cannot align sky and ground.
- Without a tracker: f/2.8, about 20 seconds (depends on the lens), ISO 4000. With a tracker: f/4, ISO 800, about 5 minutes.
- Land shot separately, tracker off: f/6.3, ISO 1600, long exposure, or at blue hour about an hour after sunset or before sunrise.
- Sky and land shot at different moments are a blend. It is a legitimate choice, as long as you declare it.
- Lately I use the tracker less and prefer moonlit nights, where one exposure holds both land and sky.
Why a fisheye for the Milky Way arch
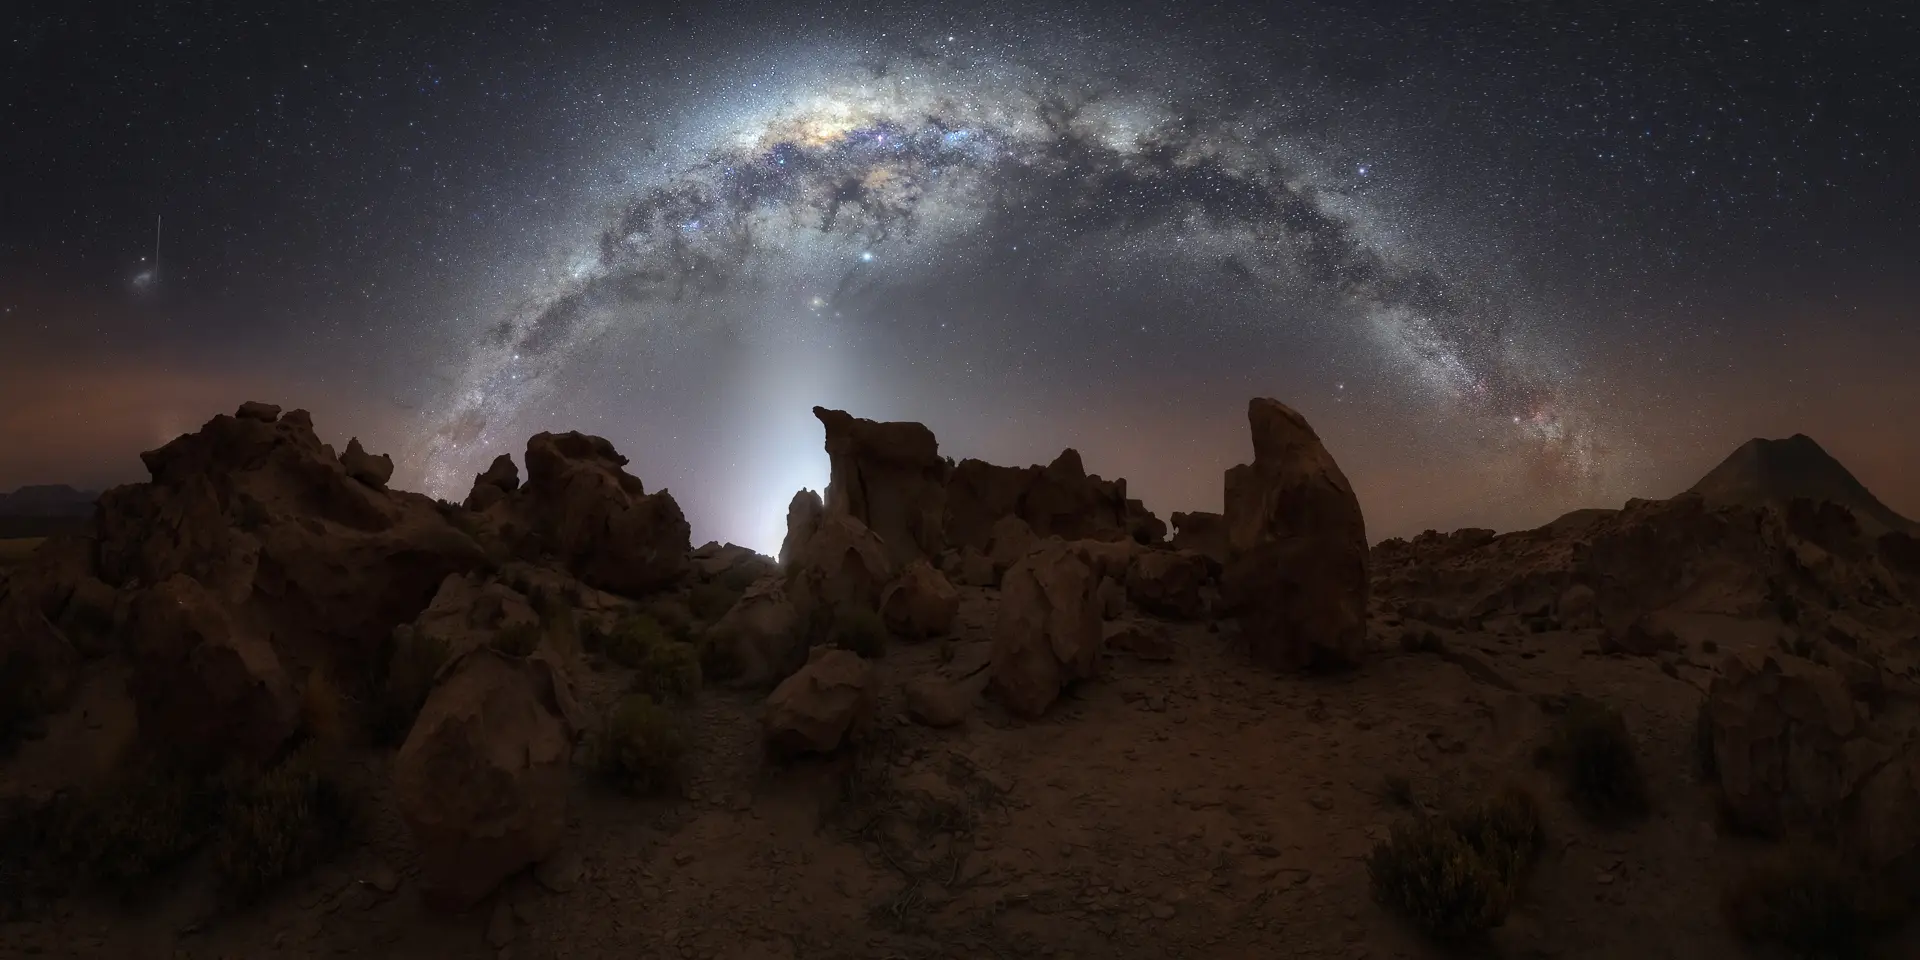
The Milky Way arch is a 180° subject: it rises from one horizon, crosses the sky and comes down on the other side. To hold all of it in one image you need a very wide angle. I shoot it the same way I shoot every panorama: a 12mm fisheye, the camera vertical, one single row. The long side of the sensor covers the height of the scene, from the ground under my feet to high in the sky, and the panorama comes out at 2:1.
The fisheye also gives the arch its round, embracing shape, and keeps the foreground sharp without focus stacking. I explain the whole fisheye method in my guide to ultra-wide and 360° panoramas.
Gear
- A full-frame camera, so the fisheye keeps its full angle of view.
- A wide fisheye: my Samyang 12mm f/2.8.
- A sturdy tripod and a nodal bracket; I use the Nodal Ninja R1 with the RD10 rotator.
- A star tracker, optional: I use a Sky-Watcher Star Adventurer, the standard version.
- A remote shutter, so you never touch the camera during the exposure.
- A red headlamp. At night a white light ruins everyone else’s photos and your own night vision. On my tours this is a strict rule.
Shooting the sky: frames and overlap
With the camera vertical, rotate along the horizon and cover the whole arch with about 30% overlap between frames. That means about 6 frames with a 12mm fisheye and 8 with a 14mm. By day less overlap would do, but at night the software has far fewer details to match, so be generous.
The most important detail: keep one or two fingers of land at the bottom of every sky frame. The land is what lets the software line the sky up with the ground. A frame of stars only is almost impossible to place.
Settings without a tracker
Without a tracker the stars move during the exposure, so time is limited. My starting point:
- f/2.8, wide open;
- about 20 seconds with a 12mm fisheye. It depends on the lens: the longer the focal length, the shorter the exposure must be to keep the stars as points;
- ISO 4000.
As with every panorama, settings and focus must stay identical on every frame. Focus manually, then do not touch it again.
Settings with a star tracker
A star tracker rotates the camera with the sky, so the stars stay still even in long exposures. That gives you a cleaner sky, with less noise and more colour, and lets you close the aperture: with the tracker I shoot at f/4, ISO 800 and about 5 minutes per frame.
The order matters:
- Set up the tracker and align it to the pole (polar alignment).
- Then mount the camera, without moving the tracker.
- Shoot the sky frames, rotating the camera, never the tracker base.
The tracker moves with the stars, so the land in those frames comes out blurred. That is why the land is a separate shot.
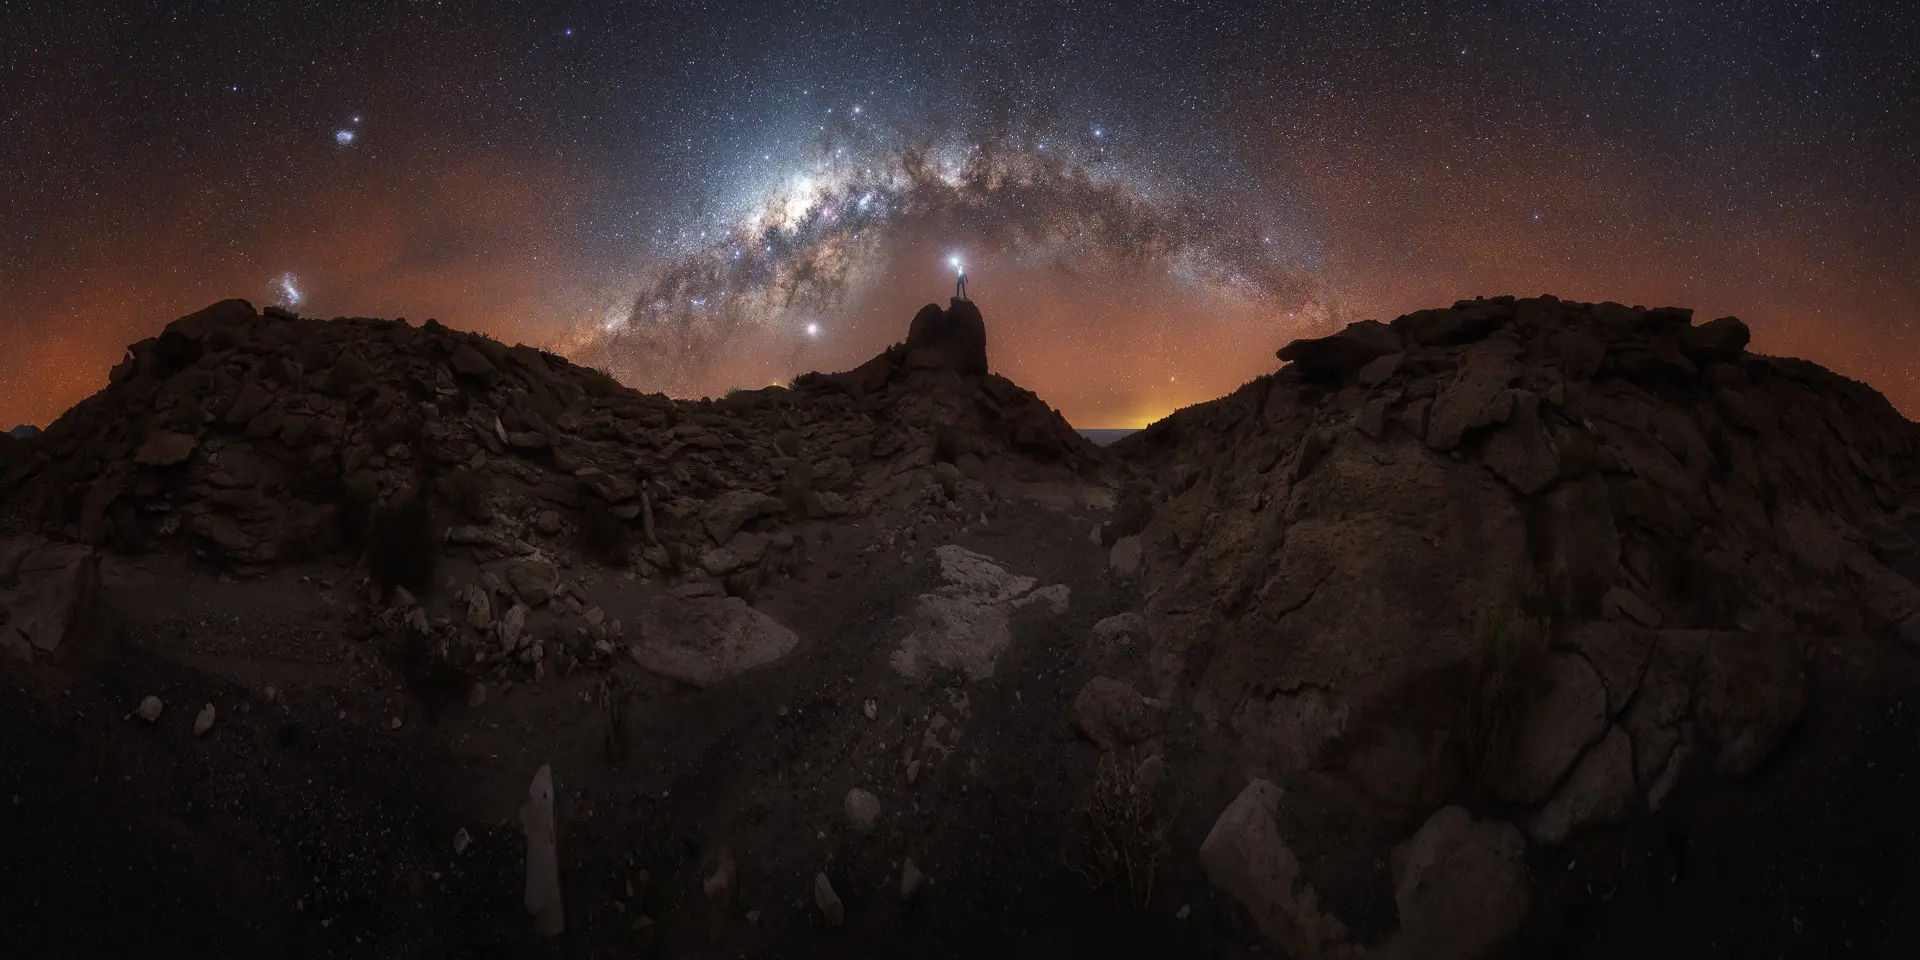
Shooting the land
The land needs its own exposure. I have two ways to make it:
- At night, tracker off: f/6.3, ISO 1600 and a long exposure, so the foreground is sharp from front to back and clean of noise.
- At blue hour, about an hour after sunset or before sunrise, from exactly the same position. There is still some natural light, and the shadows are soft.
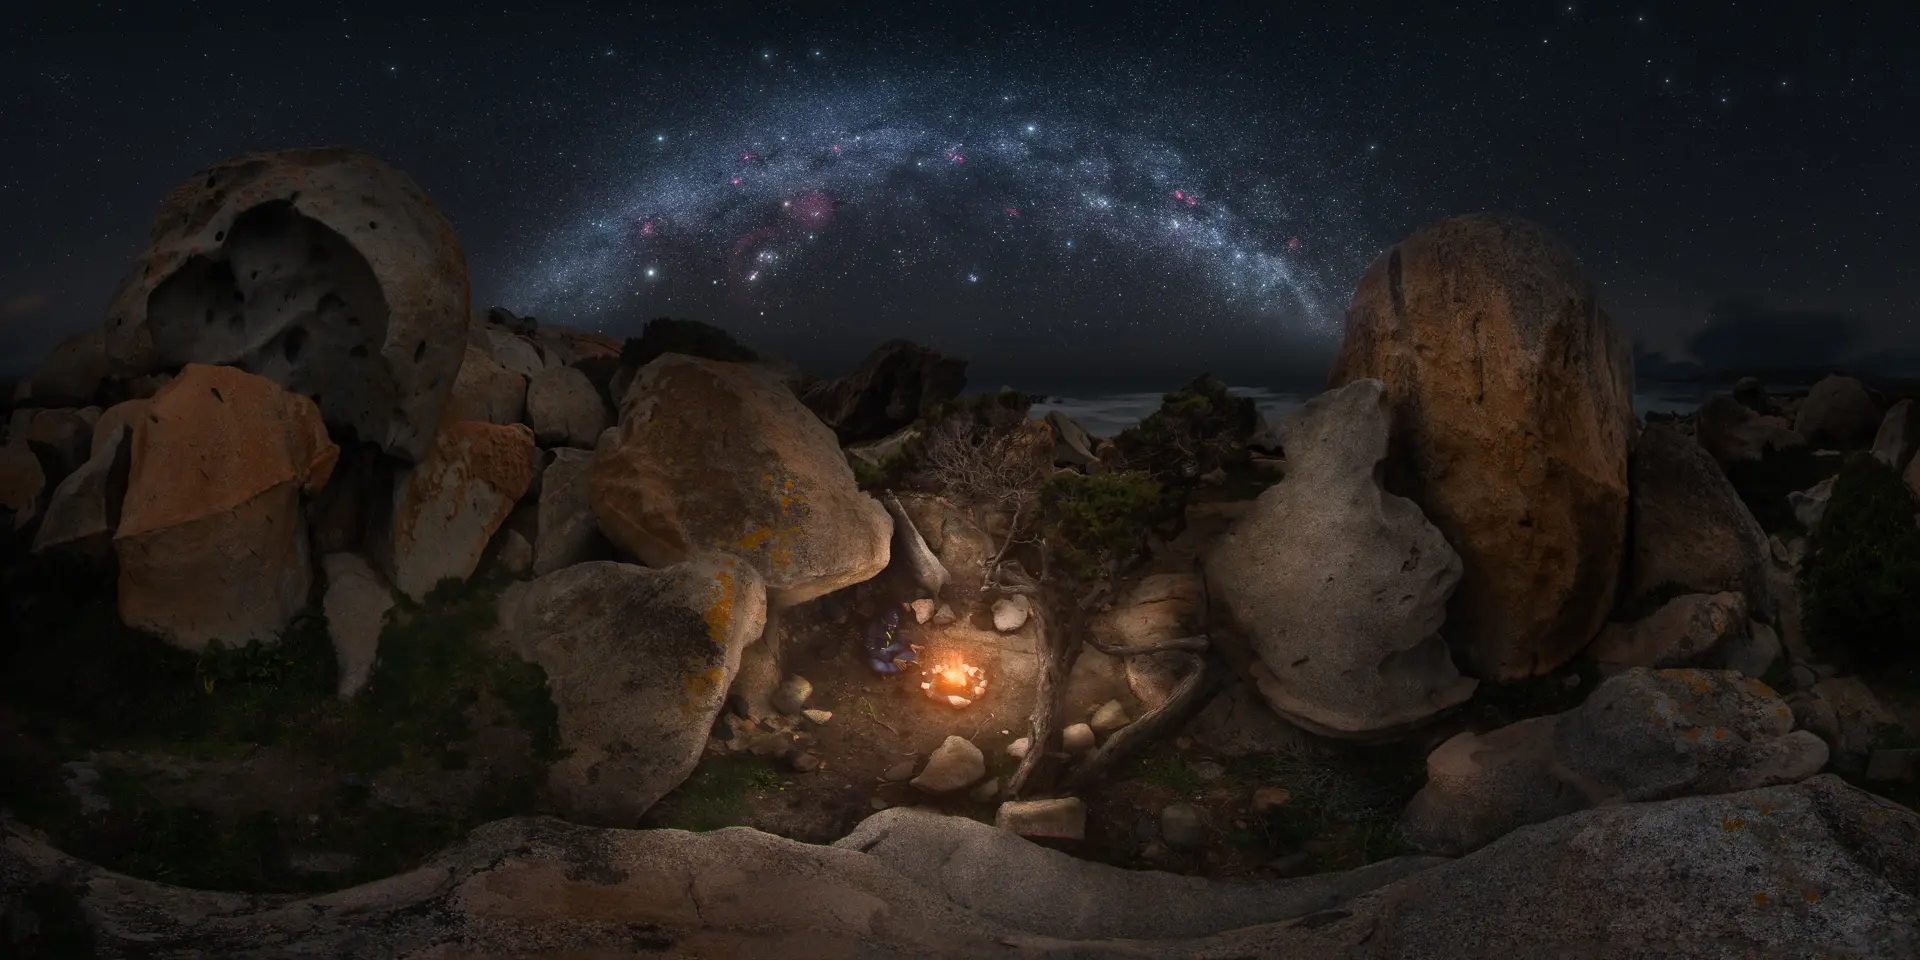
Blending sky and land, honestly
A sky and a land shot at different moments, then put together, are a blend: a composite in time. It is a legitimate creative choice, and many of the night panoramas you admire are made this way. The rule that matters is honesty, with yourself and with the people who look at your work. When I blend, I say it: in the caption, on social media and always in competitions, which have their own rules on composites.
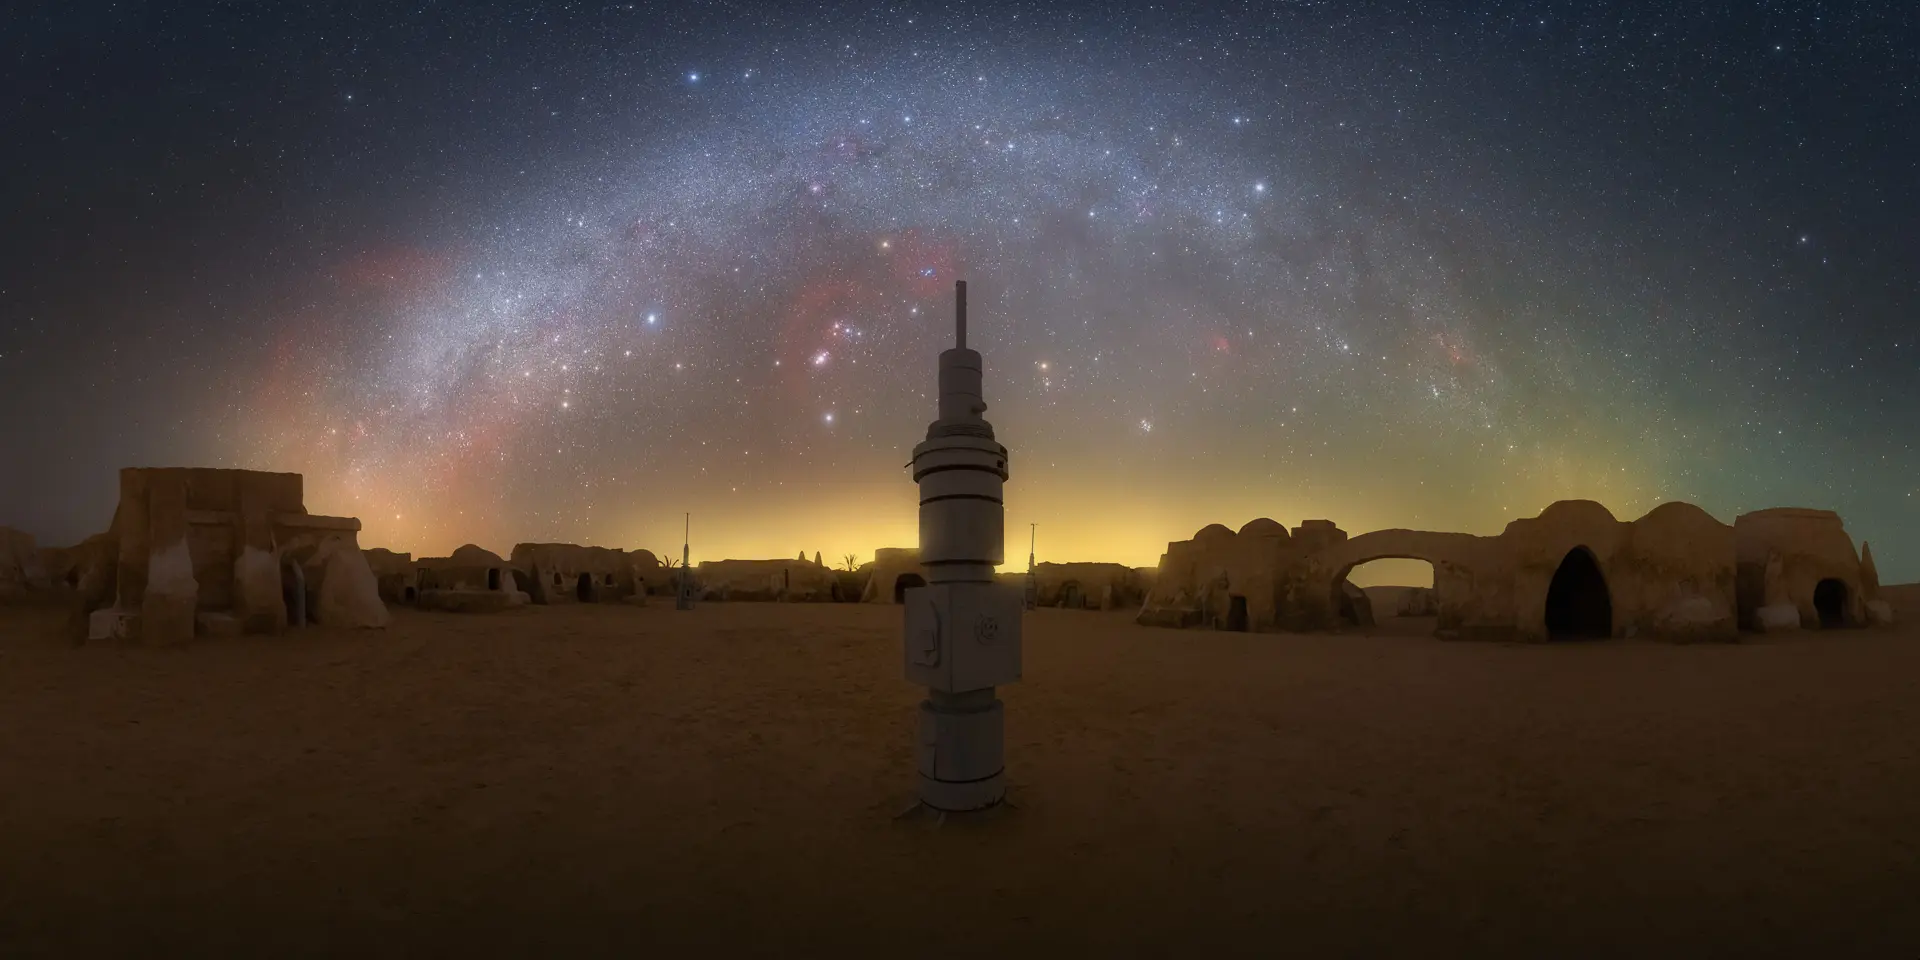
Composition under the arch
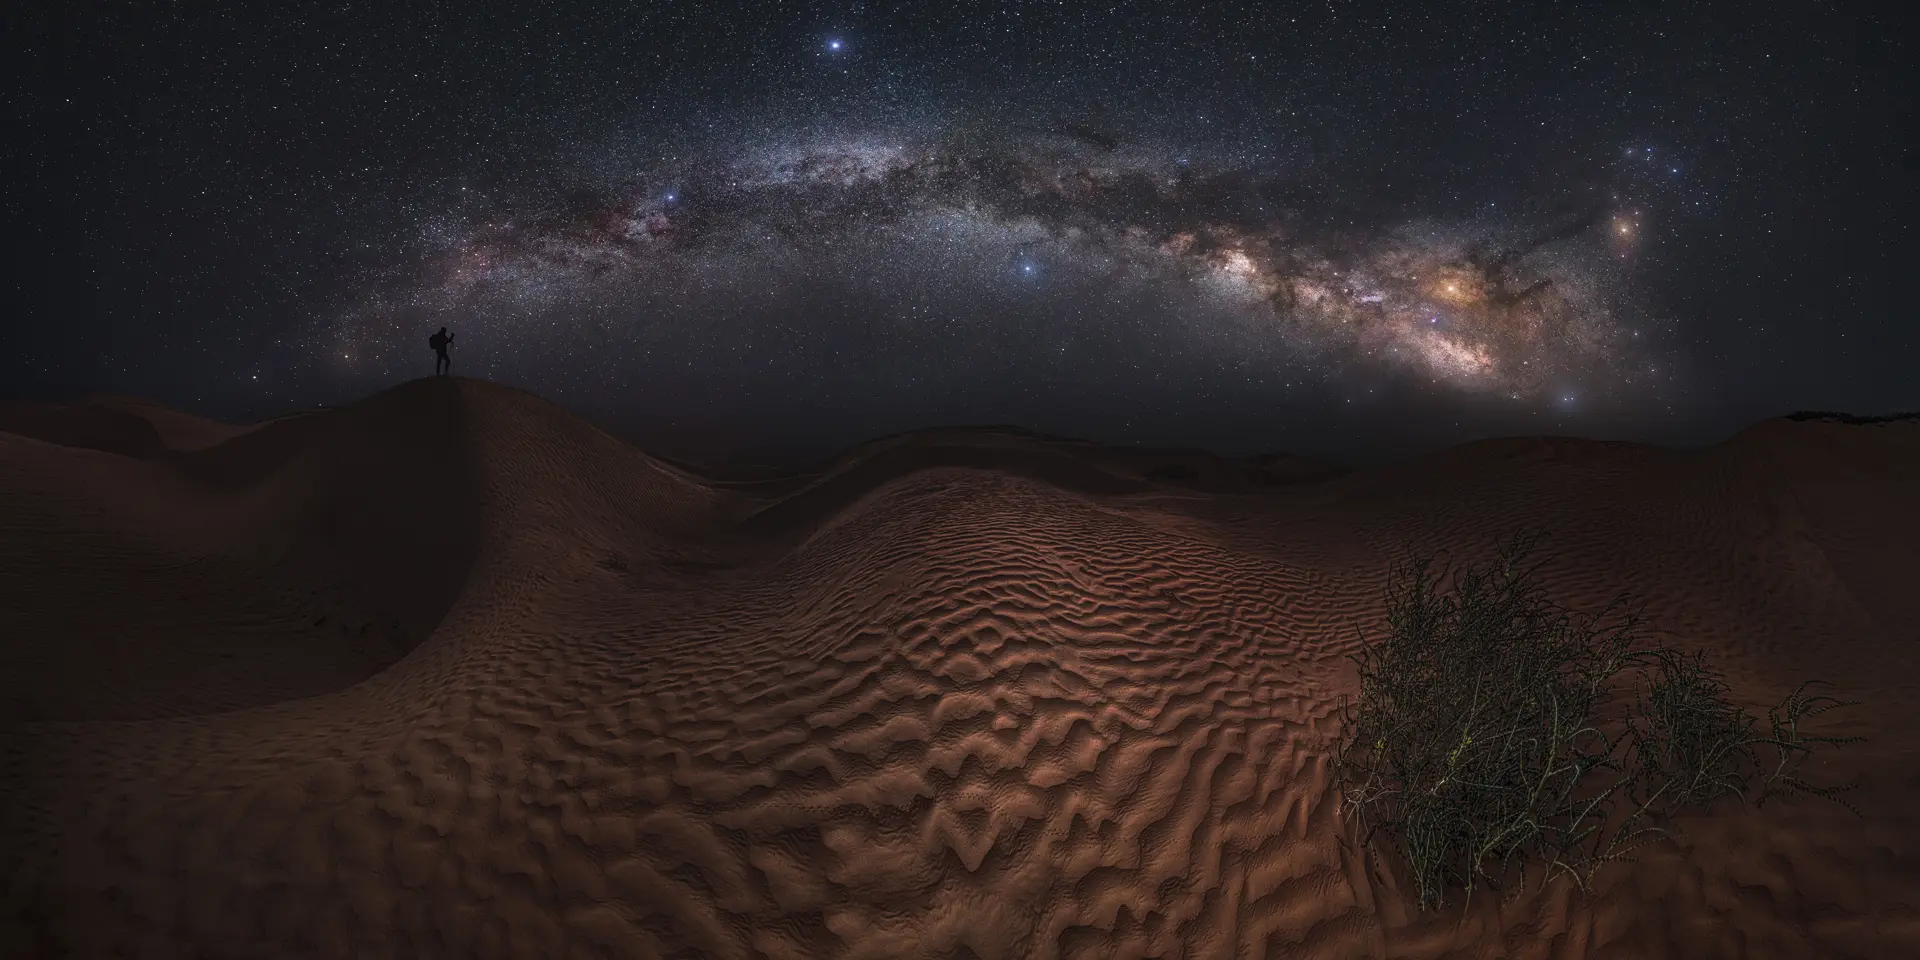
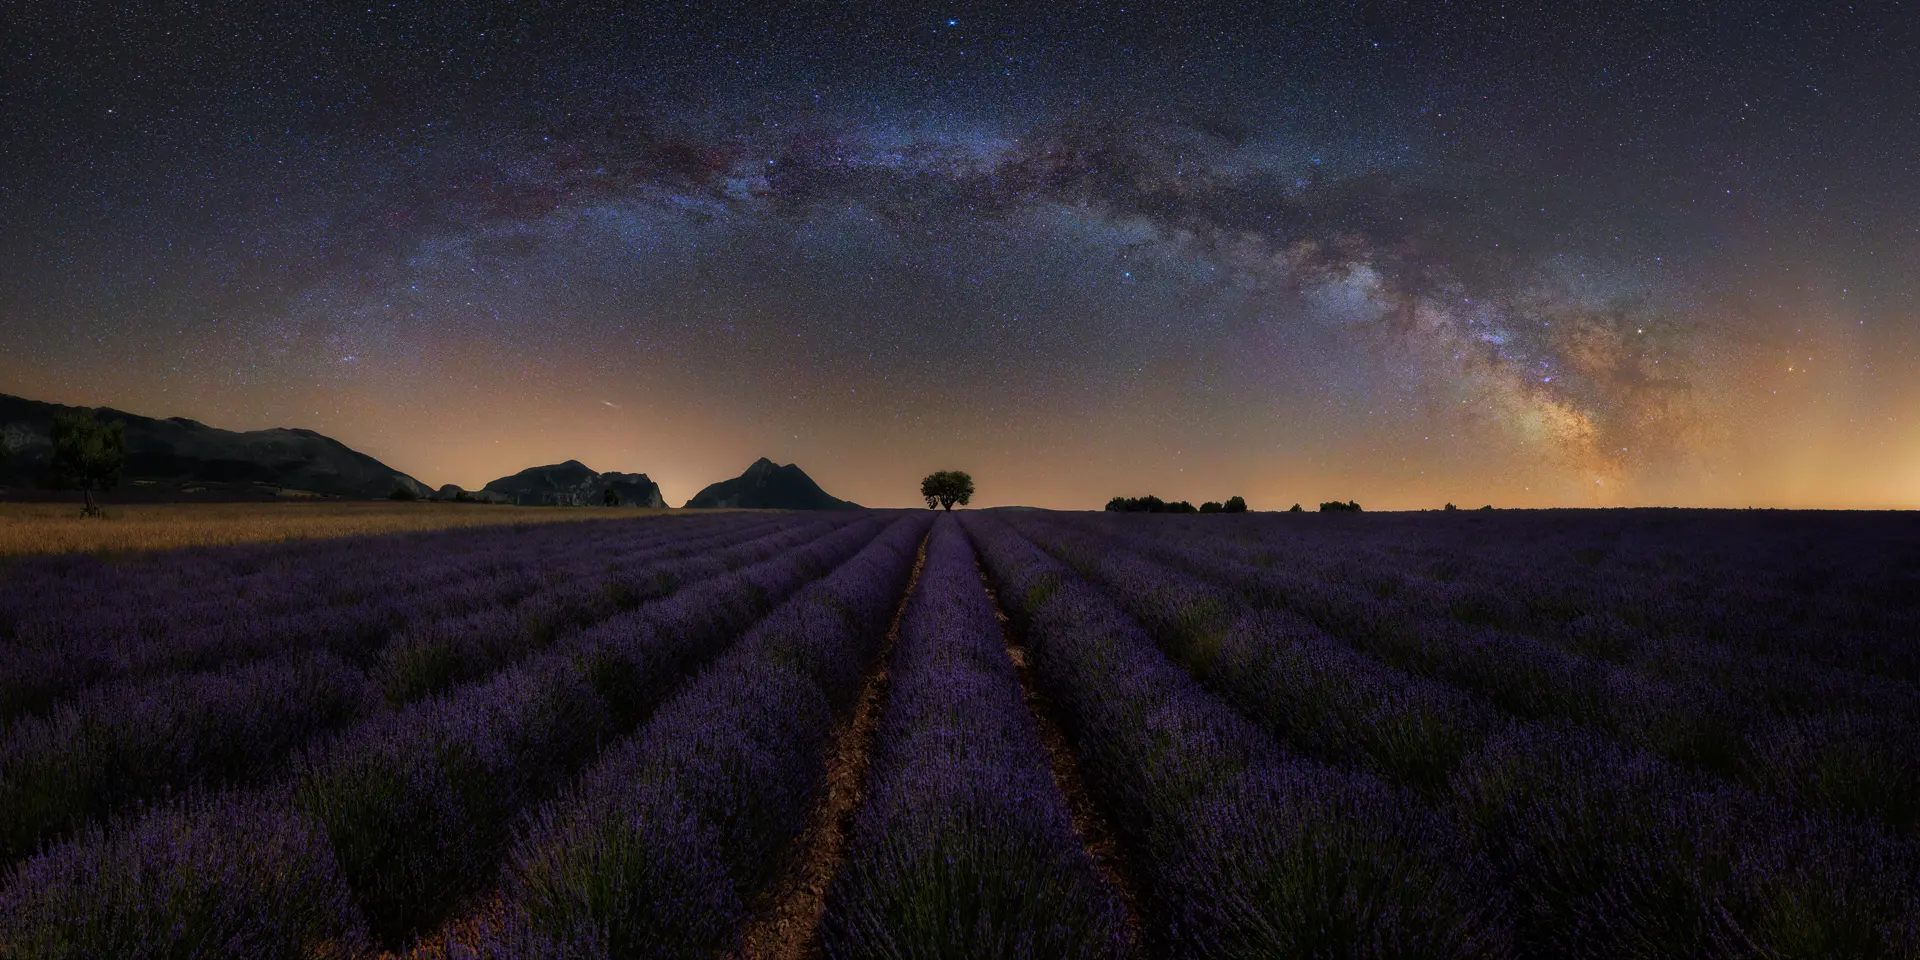
The rules of every panorama still apply. The Milky Way is the strong light that catches the eye, so build the rest around it. Balance left and right, fill the frame with elements, and use the land to lead the eye to the arch.
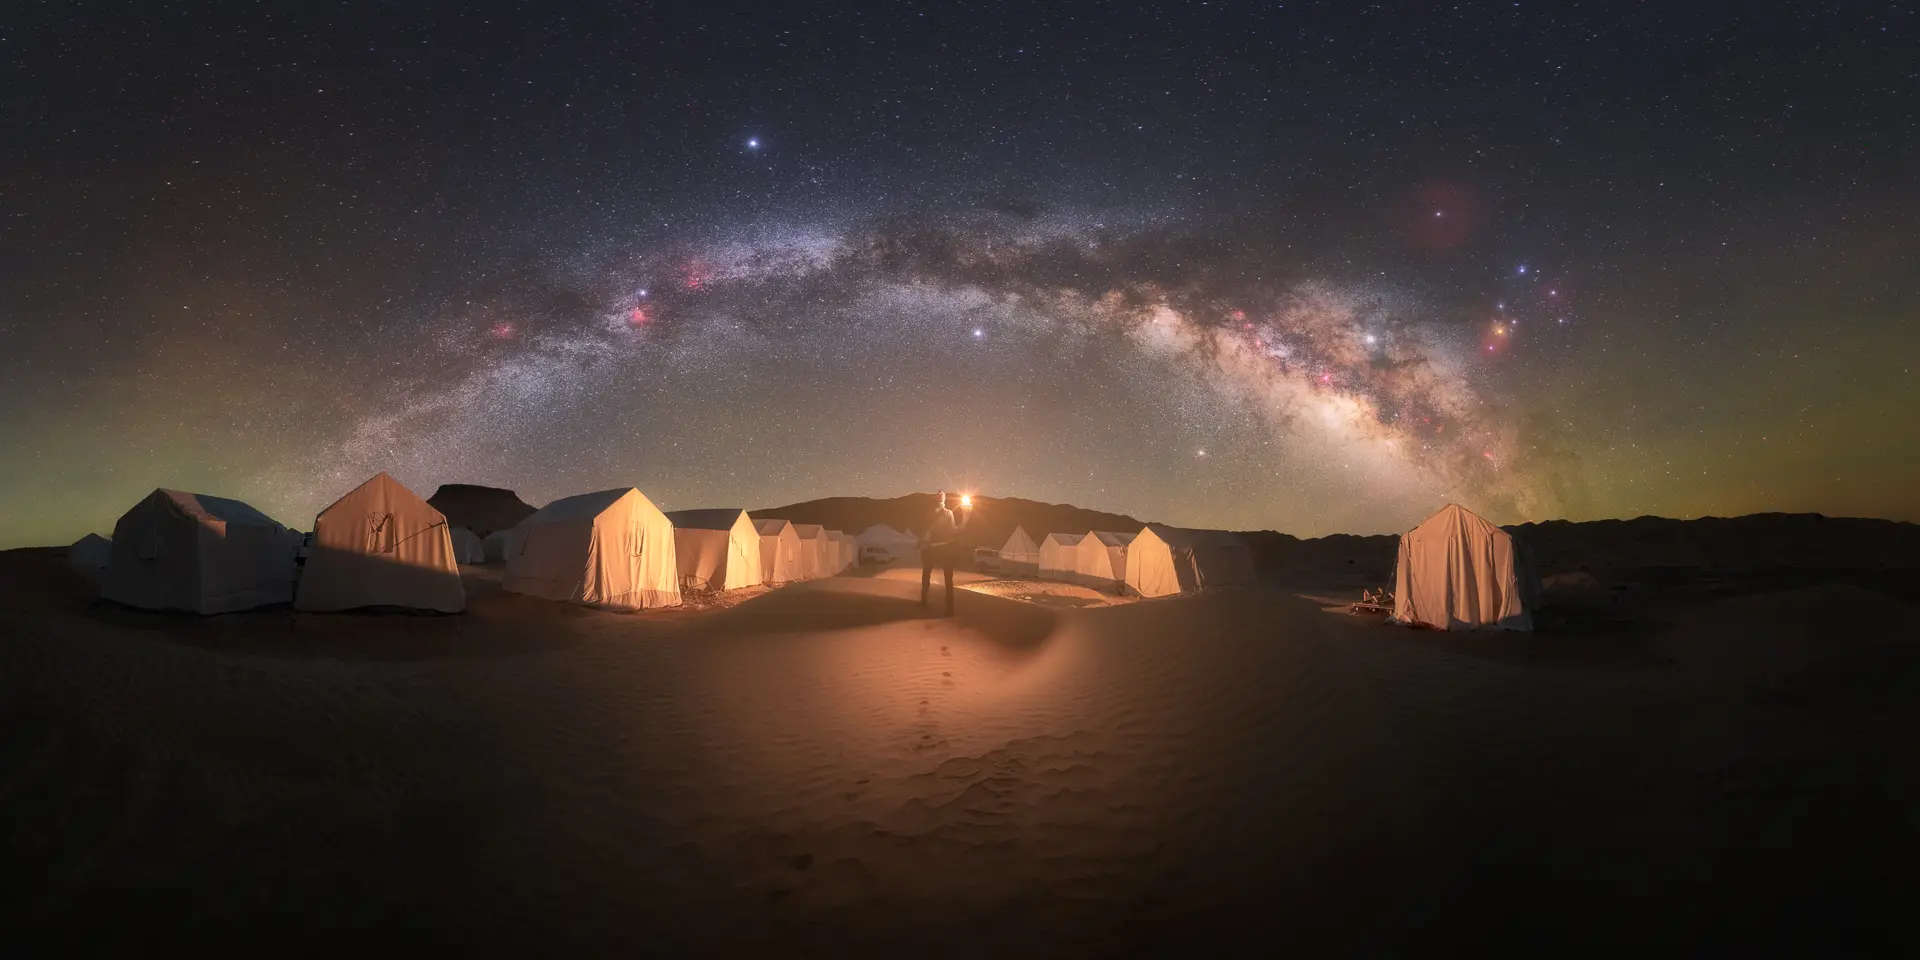
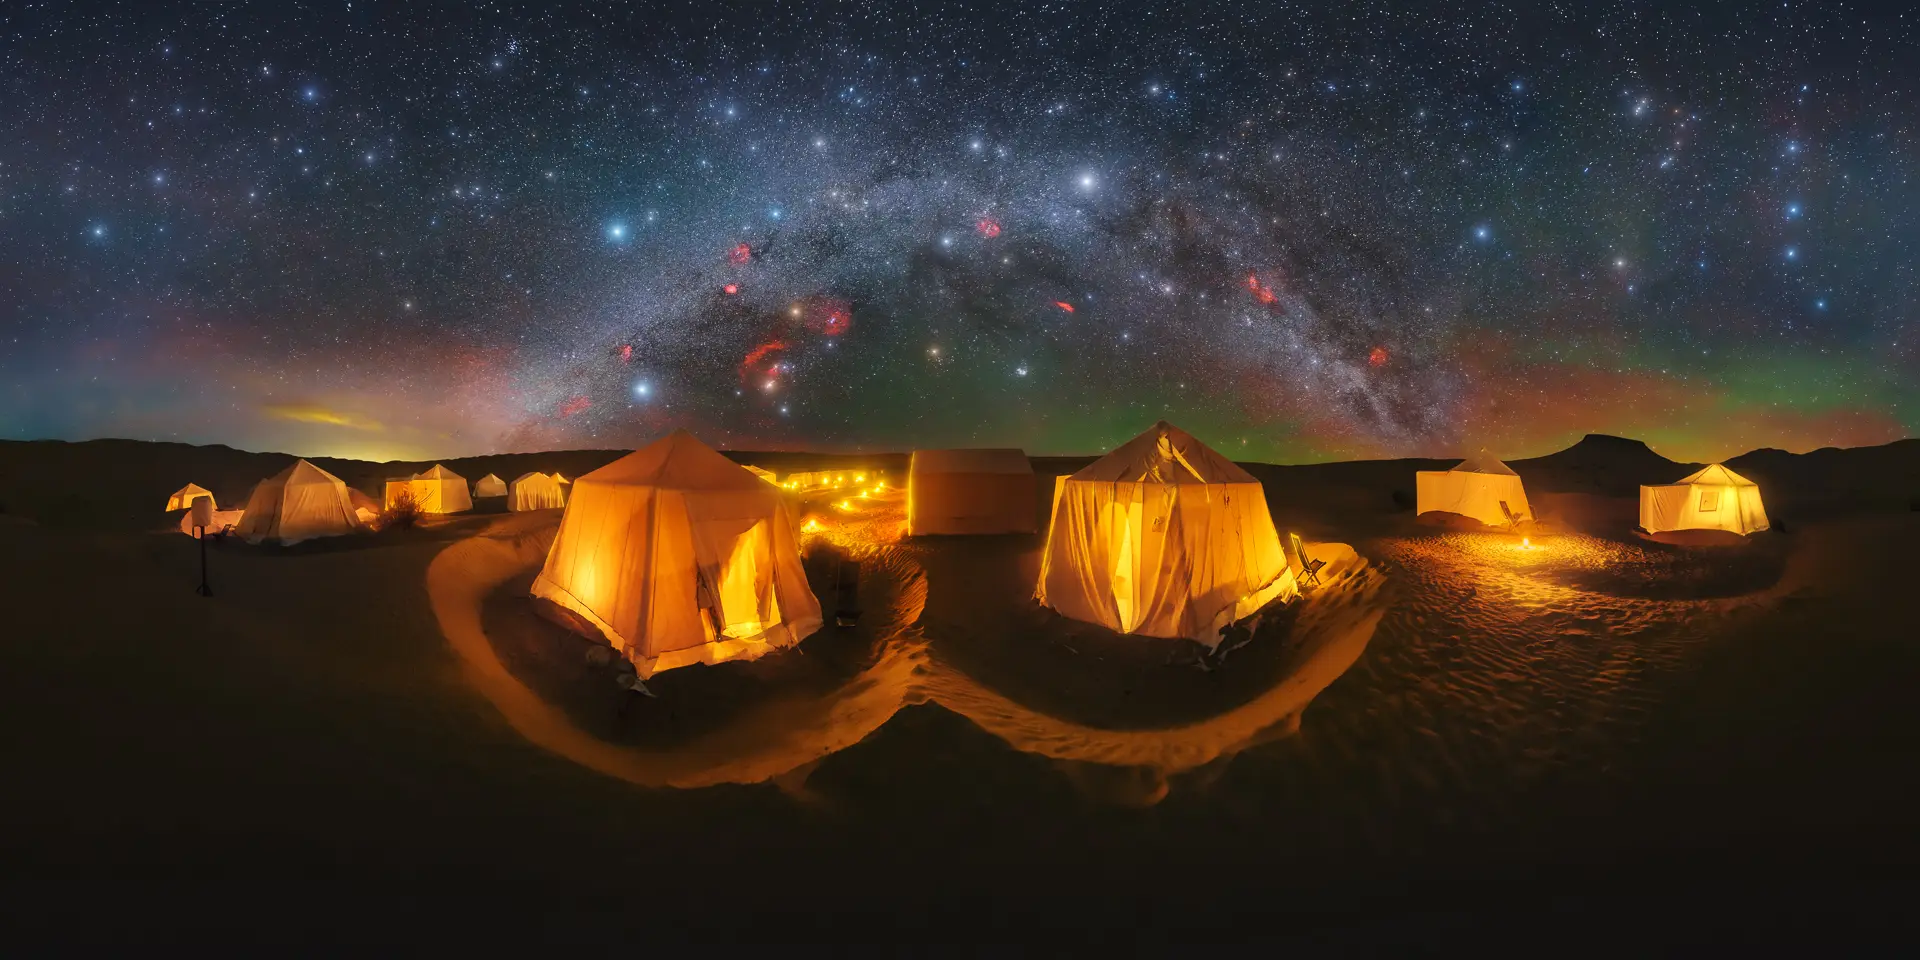
A person with a small light is the most powerful human element at night: put them where the arch comes down, or on top of a rock, and the whole frame finds its balance. Lit tents or a small fire work the same way.
Common mistakes
- Sky frames with no land at the bottom: the software cannot align them.
- Too little overlap, under about 30%: the panorama will not stitch.
- Moving the tracker after the polar alignment.
- Shooting the land with the tracker on: blurred foreground.
- Changing settings or focus between frames.
- A white headlamp turned on while others are shooting.
Stitching and editing
Night panoramas are the hardest to stitch, because there is so little detail to match. Stitch the sky frames and the land frames, then blend the two. I compare the stitching software in my ultra-wide panorama guide, including my own tool, AERO STITCH.
The editing, from the blend to the final 2:1 image, is in my video course Extreme Panoramic Landscapes. If you want to turn the night into star trails, see 360° Star Trail Panoramas.
Why I now prefer the moon
Lately I rarely use the tracker. I prefer moonlit nights: the moon lights the land, and a single exposure holds both land and sky, without blending. The Milky Way is fainter, but the scene has a light of its own. You can see these panoramas in my Moonlight collection.
Learn it with me
- Photo tours: night sessions under dark skies, with me next to you. In the Algerian Sahara, for example, the nights are far from any city light.
- Extreme Panoramic Landscapes: the complete video course.
- One-to-one lessons: if your night panoramas do not stitch, we look at your files together.
Frequently asked questions
How many photos do I need for a Milky Way arch panorama?
With the camera vertical and about 30% overlap between frames, about 6 frames with a 12mm fisheye and 8 with a 14mm lens. At night the software has fewer details to match, so more overlap is safer than less.
What settings should I use for a Milky Way panorama without a star tracker?
My starting point is f/2.8, ISO 4000 and about 20 seconds with a 12mm fisheye. The longer the lens, the shorter the exposure must be to keep the stars as points. Shoot the land separately with a longer exposure or at blue hour.
What settings should I use with a star tracker?
With the tracker my reference is f/4, ISO 800 and about 5 minutes per frame. Polar-align the tracker first, then mount the camera without moving it. The land must be shot with the tracker off, or it will be blurred.
Which star tracker do you use?
A Sky-Watcher Star Adventurer, the standard version. Align it to the pole first, then mount the camera on it without moving it.
Is a Milky Way panorama with a separate foreground a composite?
Yes. When the sky and the land are shot at different moments and blended, it is a composite in time. It is a legitimate creative choice when you say so in the caption, on social media and in competitions, which have their own rules.
Why will my night panorama not stitch?
The two most common reasons are too little overlap, under about 30%, and sky frames with no land at the bottom. Without land the software has only stars to match and often fails.
Can I shoot a Milky Way panorama with the moon up?
A bright moon washes out the Milky Way, so for the arch you need a dark sky. Moonlit nights are perfect for a different kind of night panorama, where the moon lights the land and one exposure holds everything.